This article provides a guide for installing MailScanner Front End (msfe) on cPanel server.
What is MailScanner Front End (msfe)?
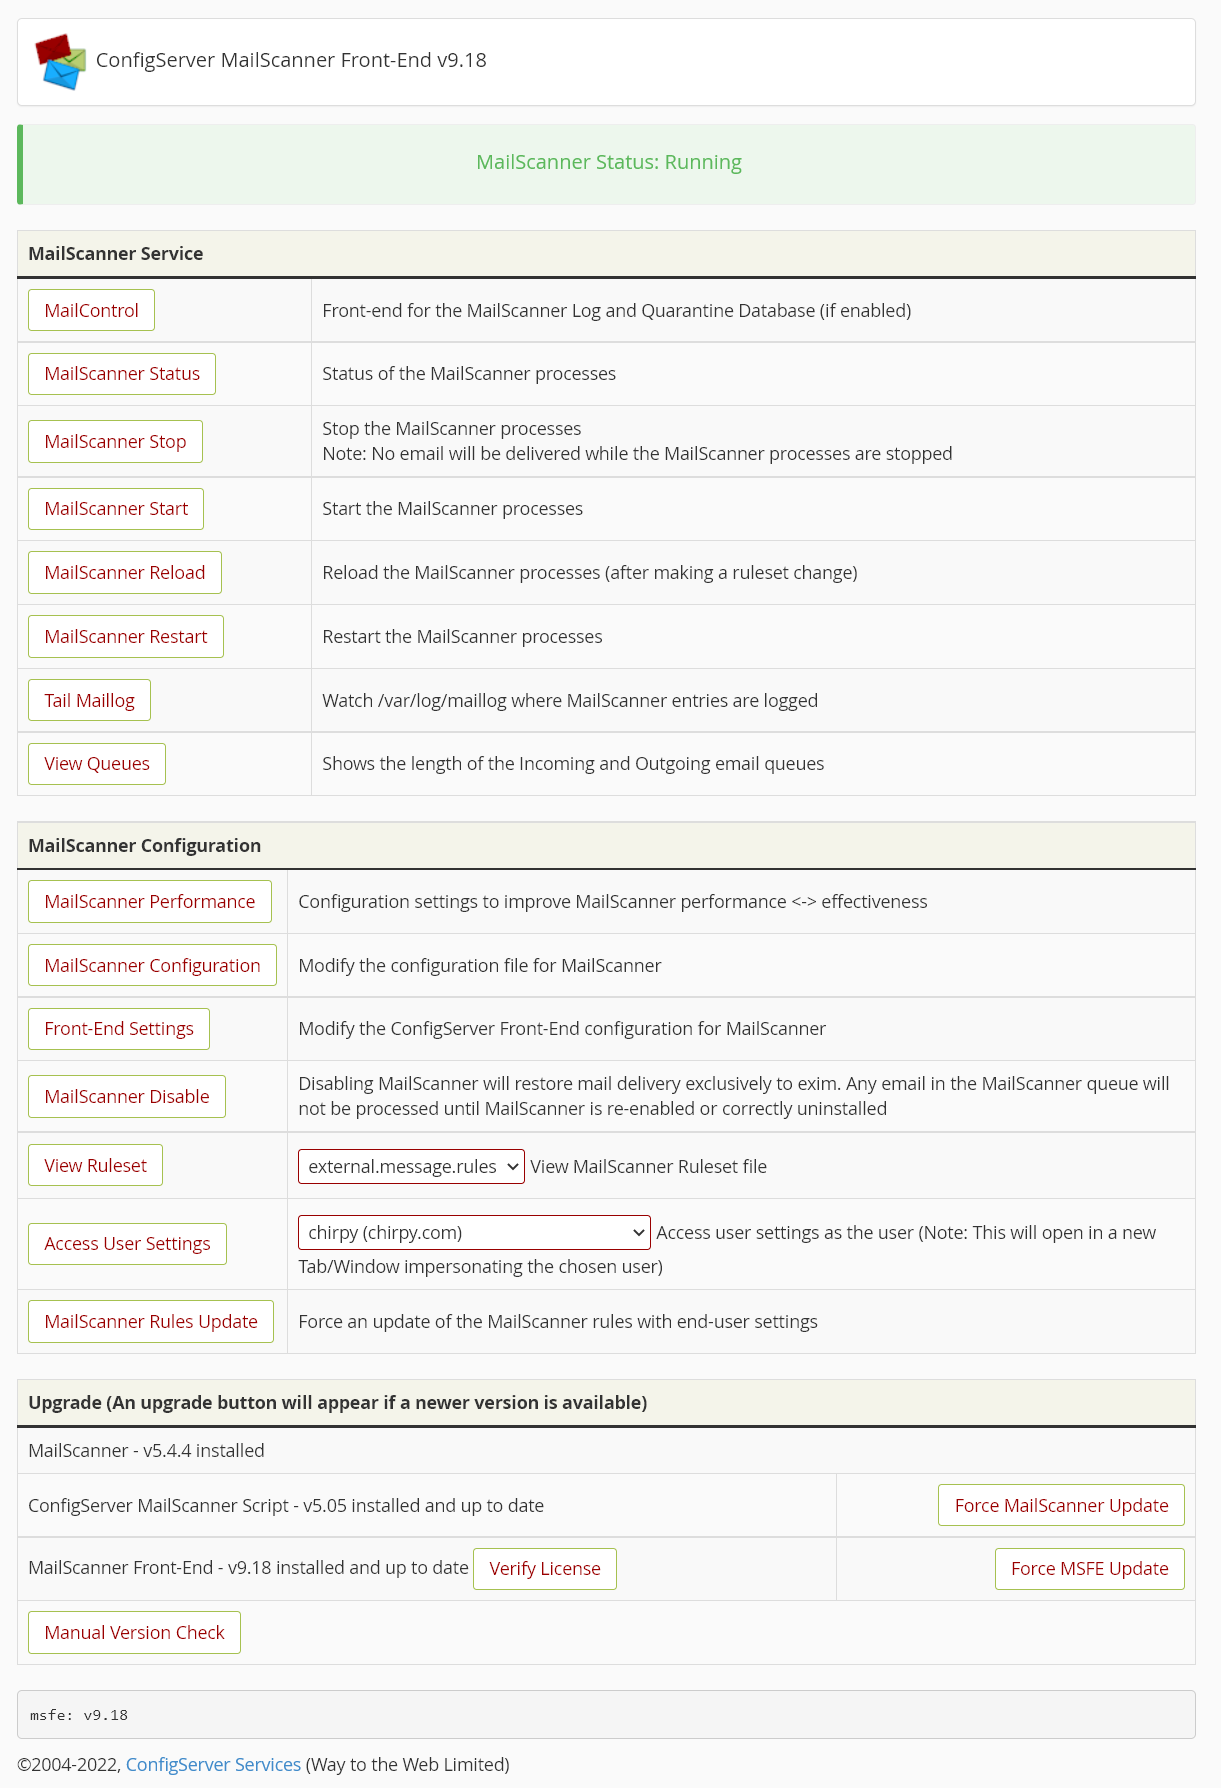
ConfigServer MailScanner Front-End is an exclusive plugin for cPanel that allows you to manage and configure MailScanner as well as offering additional features such as the MailControl viewer, SpamBox, and Digest emails.
Key Features include:
- For cPanel dedicated servers or cPanel VPS servers – protects all domains, IP addresses and users on the server
- Scan email for spam using SpamAssassin
- Scan for viruses using ClamAV anti-virus scanner
- Internal scanner for dangerous file attachments by filename and filetype
- Scan for phishing attacks
Requirements to Install ConfigServer MailScanner Front End on cPanel Server
The following prerequisites are required to install MailScanner Front End on cPanel Server:
- cPanel/WHM – latest versions fully supported
- Supported OS’s for cPanel: Redhat v7, CentOS v7, Ubuntu v20.04 , CloudLinux v7/8, AlmaLinux v8/RockyLinux v8, AlmaLinux v9/RockyLinux v9 (See also: Install cPanel on Rocky Linux 9 Server)
- ClamAV daemon process, for virus scanning
- Minimum of 2 GB of RAM, preferably 3 GB. While we endeavour to configure MailScanner to be as efficient as possible, the application inevitably uses server resources. Due to this additional load, we recommend caution when installing MailScanner on a server which has less than 3GB of memory as ClamAV itself uses nearly 1GB.
- Root SSH access to the server is required for installation and some configuration actions.
How to Install ConfigServer MailScanner Front End (msfe) in cPanel Server
Since msfe is a premium software, it will require purchasing a license for your server's static IP address before it can be installed to your cPanel server. More information on licensing can be found on the official ConfigServer msfe website.
Once your license has been activated, you can install msfe.
To Install ConfigServer MailScanner Front End (msfe) in cPanel Server, follow the steps:
- Login to the cPanel server as root user via SSH.
- Download the installer, expand it and go into it:
wget https://download.configserver.com/msinstall.tar.gz
tar -xzf msinstall.tar.gz
cd msinstall/
- Install the Free ConfigServer MailScanner on cPanel Server
- Please note that the script uses a stable version of MailScanner which might not be the very latest from the developer
- Once installed/upgraded/uninstalled, make sure that MailScanner is running correctly and that exim is sending and receiving emails, by tailing the appropriate log files:
tail -f /var/log/maillog
tail -f /var/log/exim_mainlog
- Install/configure Razor and DCC. Run these commands in ssh as root:
/usr/local/cpanel/3rdparty/perl/532/bin/razor-admin -create
/usr/local/cpanel/3rdparty/perl/532/bin/razor-admin -register
/usr/local/cpanel/3rdparty/perl/536/bin/razor-admin -create
/usr/local/cpanel/3rdparty/perl/536/bin/razor-admin -register

cd /usr/src/
wget https://www.dcc-servers.net/dcc/source/dcc.tar.Z
tar -xzf dcc.tar.Z
cd dcc-*/
./configure --disable-dccm
make
make install
sed -i "s/DCCM_LOGDIR=\"log\"/DCCM_LOGDIR=\"\"/" /var/dcc/dcc_conf
cdcc 'info -N'
cd ..
/bin/rm -Rf dcc-* dcc.tar.Z
(Note: You will get errors for two of the razor-admin commands because only one set of commands will work.) - Ensure that the following ports are open in any software or hardware firewalls:
DCC - out-bound UDP port 6277
DCC - out-bound TCP port 587 (for reporting spam)
Razor - out-bound TCP port 2703
- Once your license has been activated, perform the following commands in a root shell on your server via SSH:
cd /usr/src/
rm -fv msfe*
wget https://download.configserver.com/msfeinstaller.tgz
tar -xzf msfeinstaller.tgz
perl msfeinstaller.pl ipv4
rm -fv msfeinstaller.*
/usr/mscpanel/mscheck.pl
- Now, login to WHM using your browser.
- Go to WHM > ConfigServer MailScanner FE > MailScanner Configuration and make the following changes:
- Set "Virus Scanners = " to "clamd" if you have installed clamav and wish to use the clamd daemon (recommended) with MailScanner.
- Search for "Clamd Socket = ". Make sure that value is set to "/var/clamd" and NOT "/tmp/clamd.socket".
- You may also wish to set "Spam List = " to an empty field if you are using the RBL blocking in exim.
- Set the "%org-name%", "%org-long-name%", and "%web-site%" to your desired settings. Make sure the %org-name% includes ONLY alphanumeric characters, that is, only letters and numbers, NO symbols such as _ or - or even a .
- Click "Change" at the bottom once you've made all the above changes.
- Some configuration changes are necessary for Exim and MailScanner to both run on the server: See ConfigServer Guide
- To access the msfe management interface, navigate to "WHM->Plugins->MailScanner Front End (msfe)".

- That's it! Outgoing Spam Monitor is now installed on cPanel/WHM server.
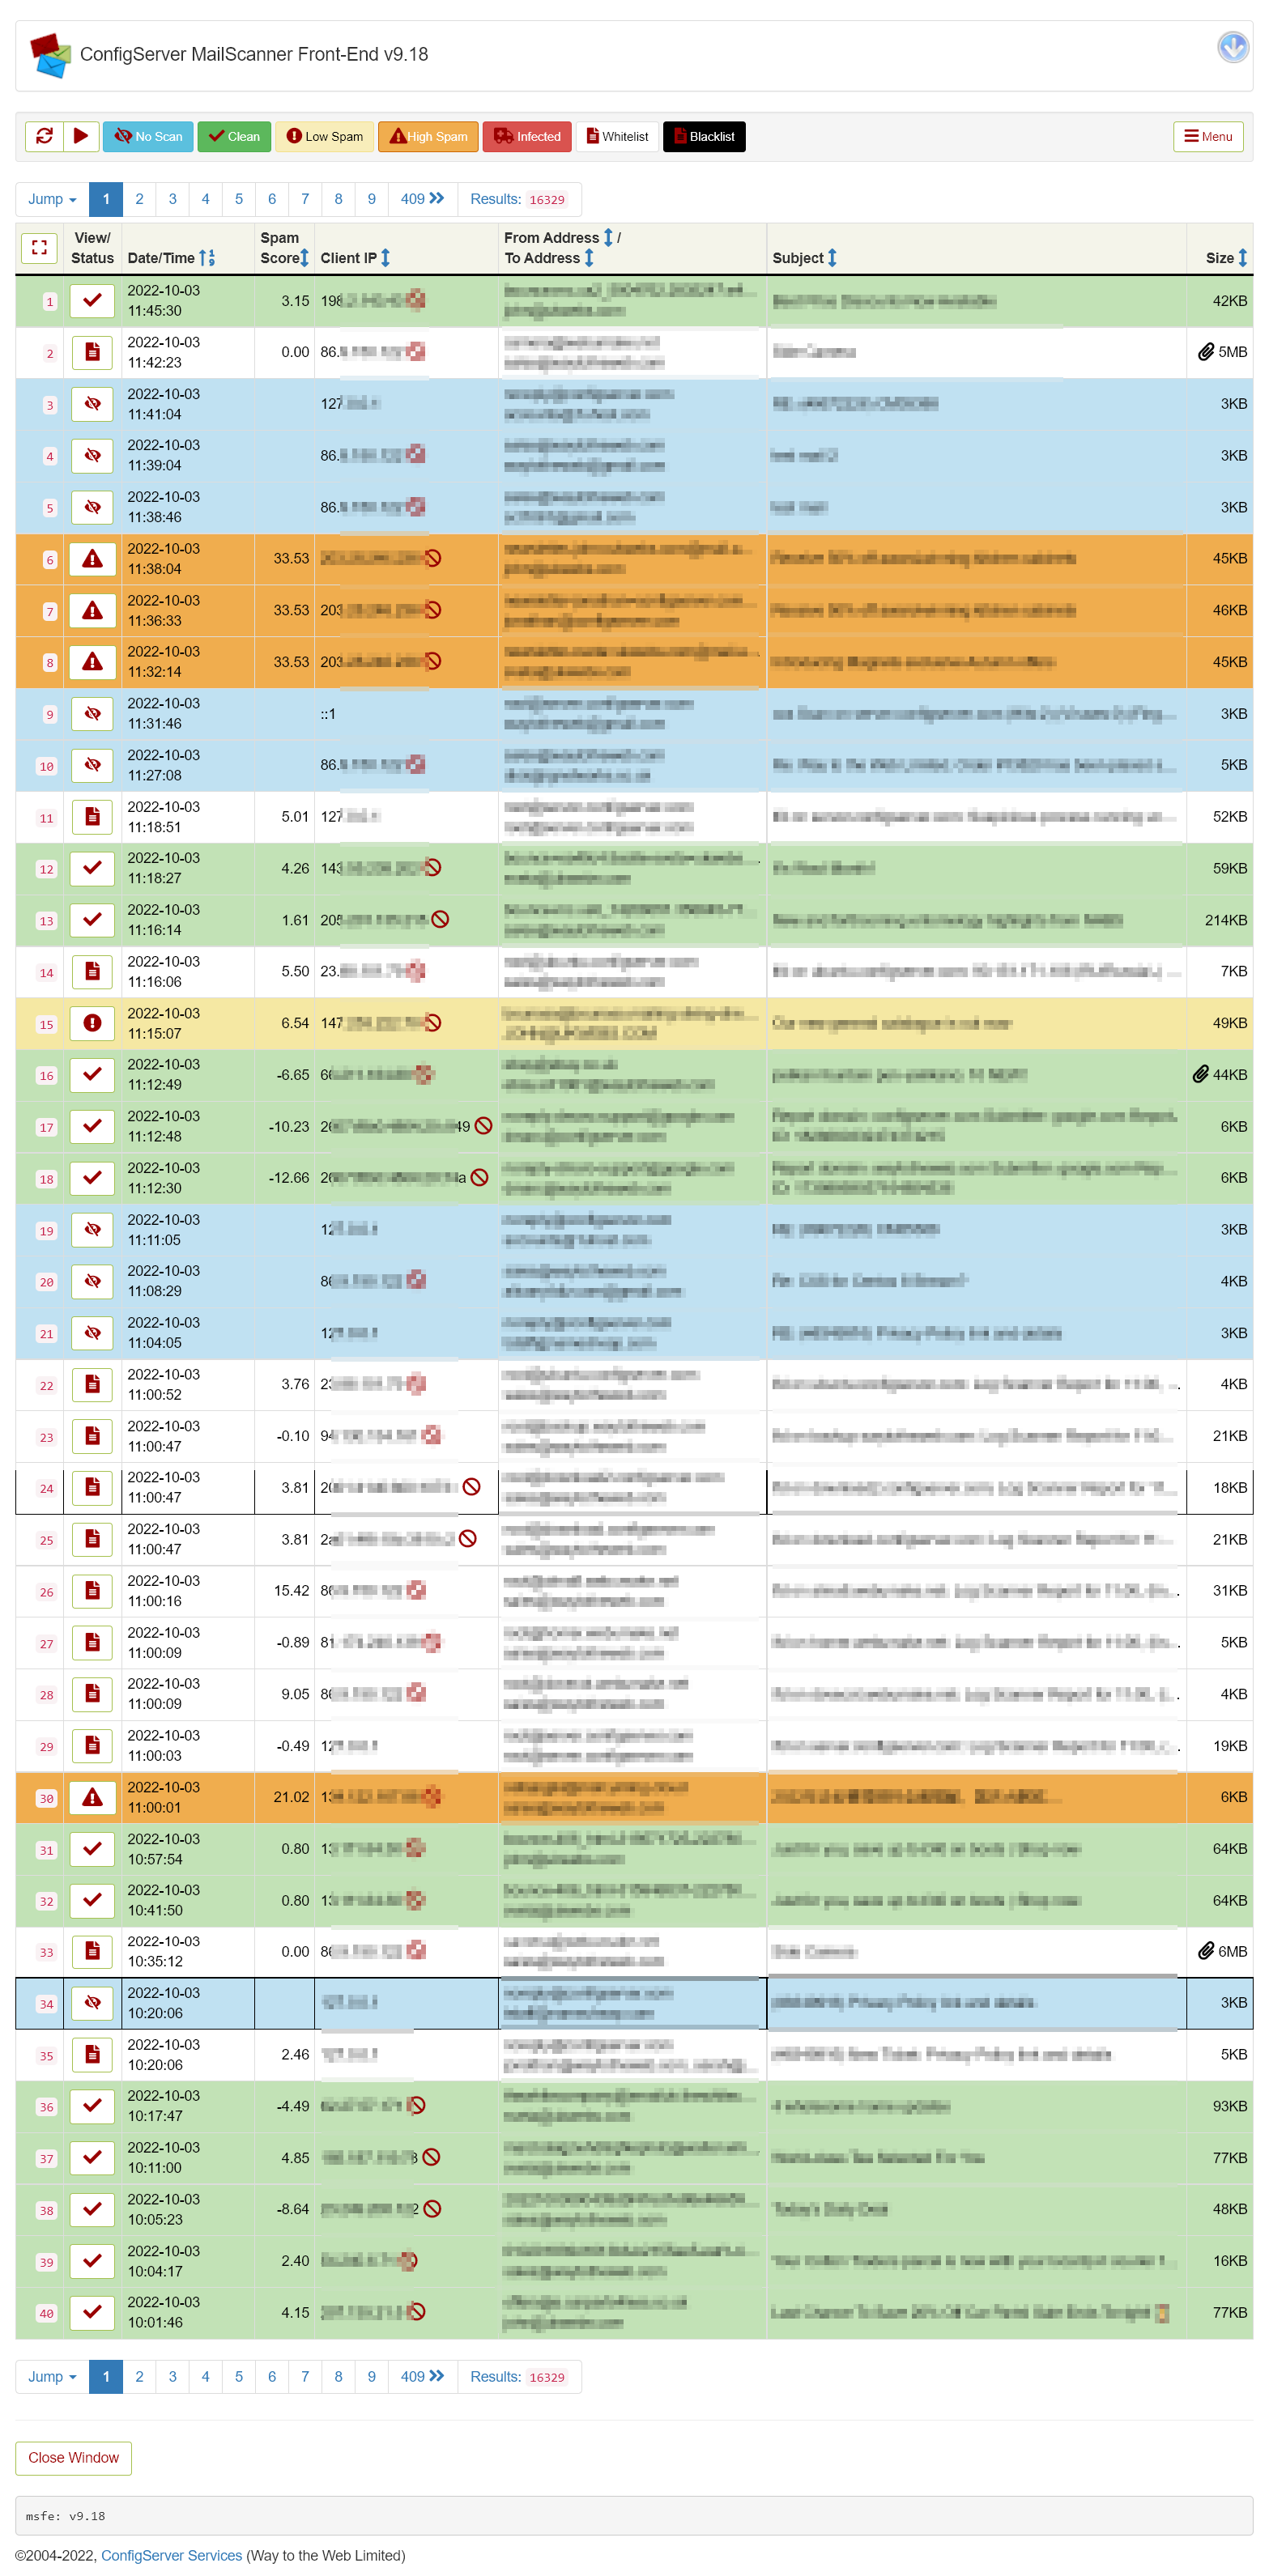
Using the built-in MailScanner main page provided in the plugin interface, administrators can gain comprehensive insight of the entire inbound mail exchange.

 Use promo code FAST50 for 50% off SSD VPS servers!


