 👀 Choose SSD-powered VPS servers for increased speed, power, and security! Now 50% off- starting from only $3.19/mo.
This article provides a guide for how to upgrade your hosting plan at Rad Web Hosting.
How to Upgrade Your Hosting Plan
To upgrade your hosting plan, follow the steps below:
- Login to the Hosting Dashboard
- Navigate to "My Services" tab
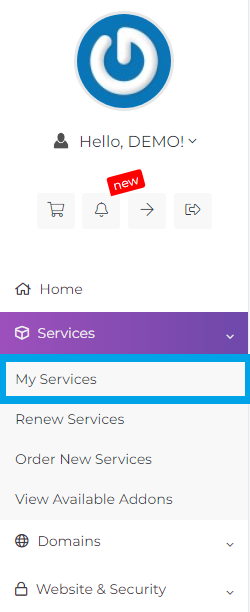
- Select the service to be upgraded.
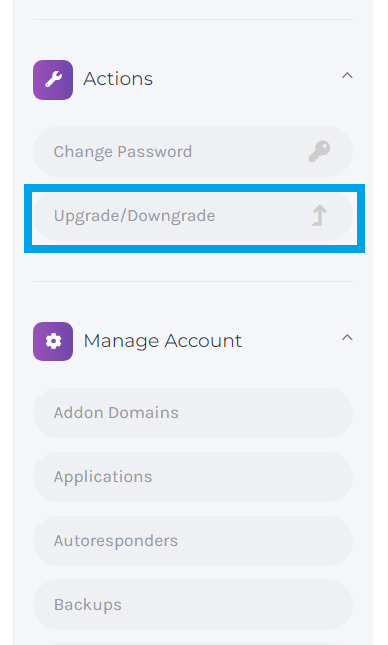
- From the service management page, click "Upgrade/Downgrade"
- Select the service plan to upgrade to from the options listed under "New Configuration"
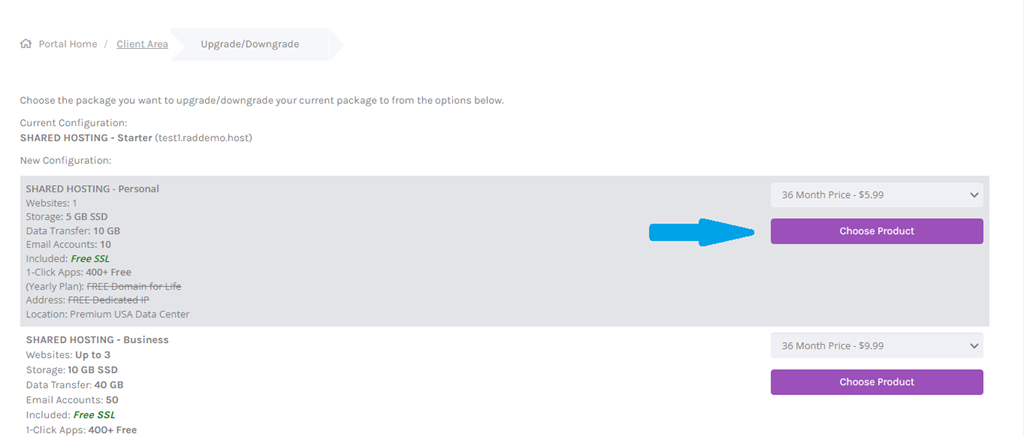
- Complete the upgrade process by resolving any related invoice (if necessary).
- Your service will be upgraded automatically after payment confirmation.


For assistance, please open a support ticket.
Conclusion
You now know how to upgrade your hosting plan at Rad Web Hosting.
