Please follow the below guidelines to install VPS Reseller WHMCS module.
Prerequisites
- WHMCS installation
- VPS Reseller account
- WHMCS server has ports 4081-4085 open
Install VPS Reseller WHMCS Module
- Download and extract the WHMCS integration [HERE].
- Copy the entire directory via FTP, SFTP, SCP, etc. to /<WHMCS_PATH>/modules/servers/virtualizor_cloud/
Get API Credentials
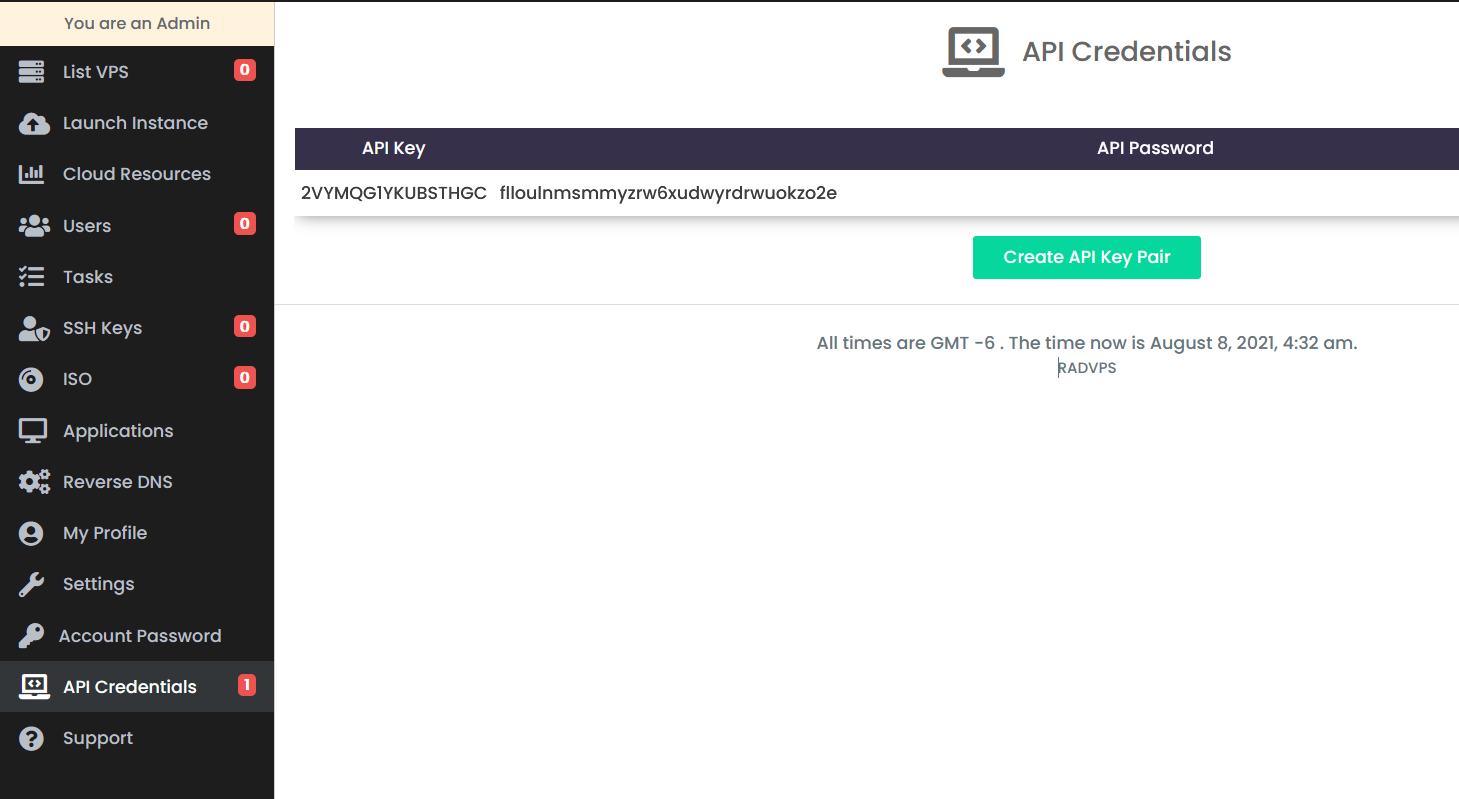
- A VPS Reseller Welcome Email was sent with the required API Credentials after payment confirmation.
- In case you do not have this email, you can view it in your Rad Web Hosting client dashboard.
- Login to Rad Web Hosting client dashboard.
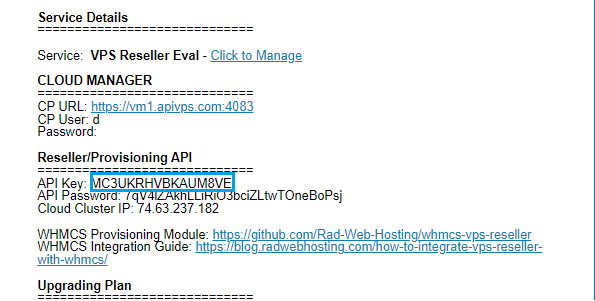
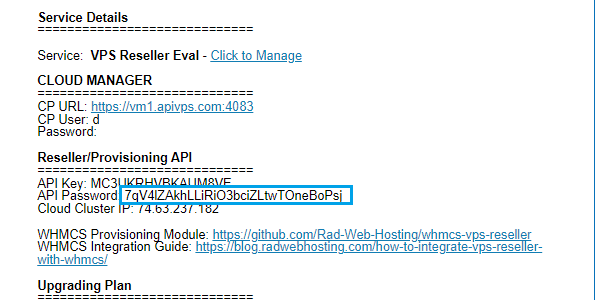
- Retrieve API key and Secret from VPS Reseller Welcome Email (Subject: “Your VPS Reseller Account is Deployed”). View guide: Viewing Email History in Hosting Dashboard
- Copy the API key pair credentials (these will be needed to configure WHMCS server connection).
Create Server in WHMCS Admin
You must now create a server in the WHMCS admin.
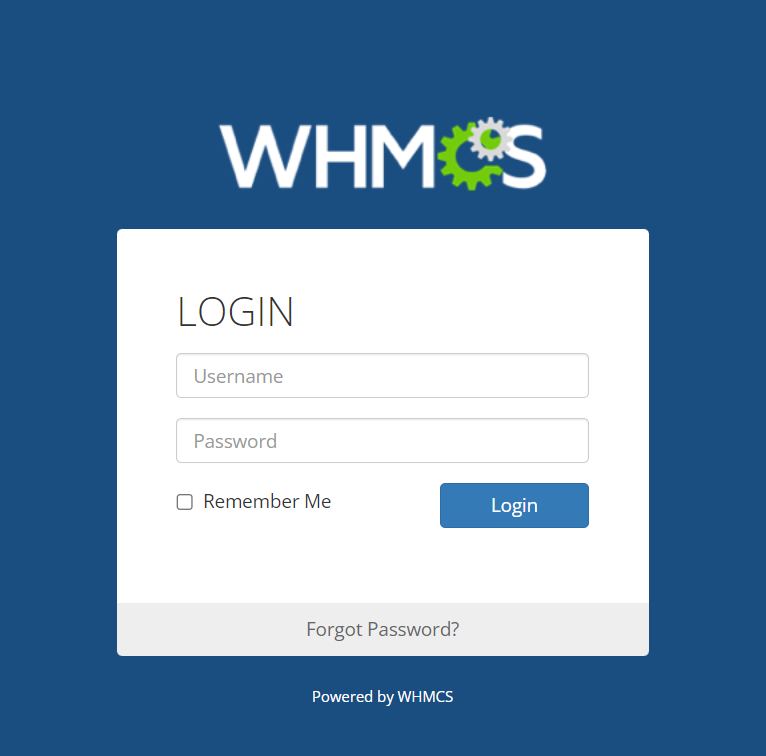
- Login to your WHMCS admin area.
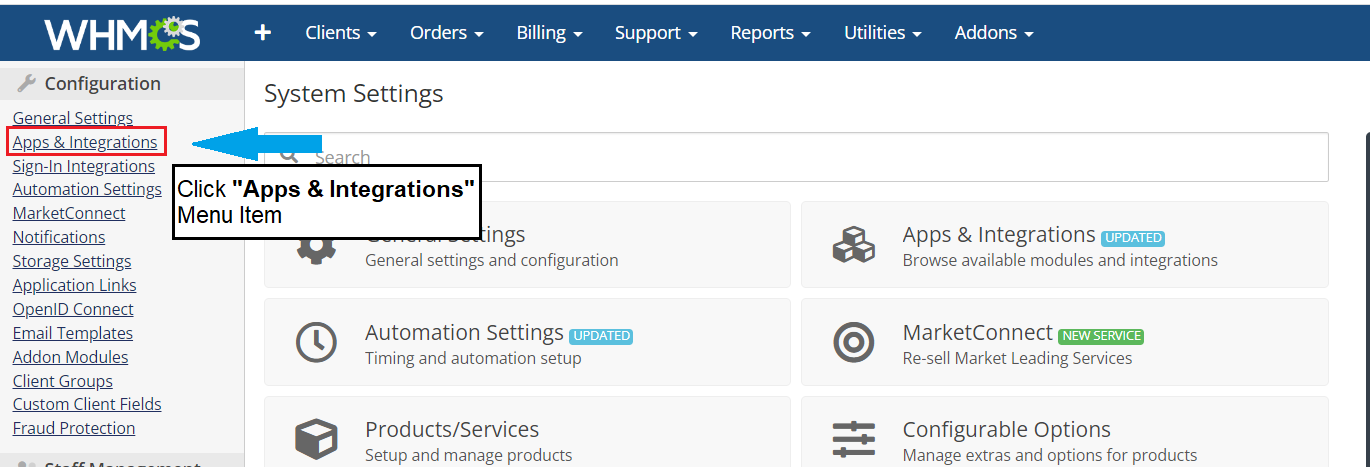
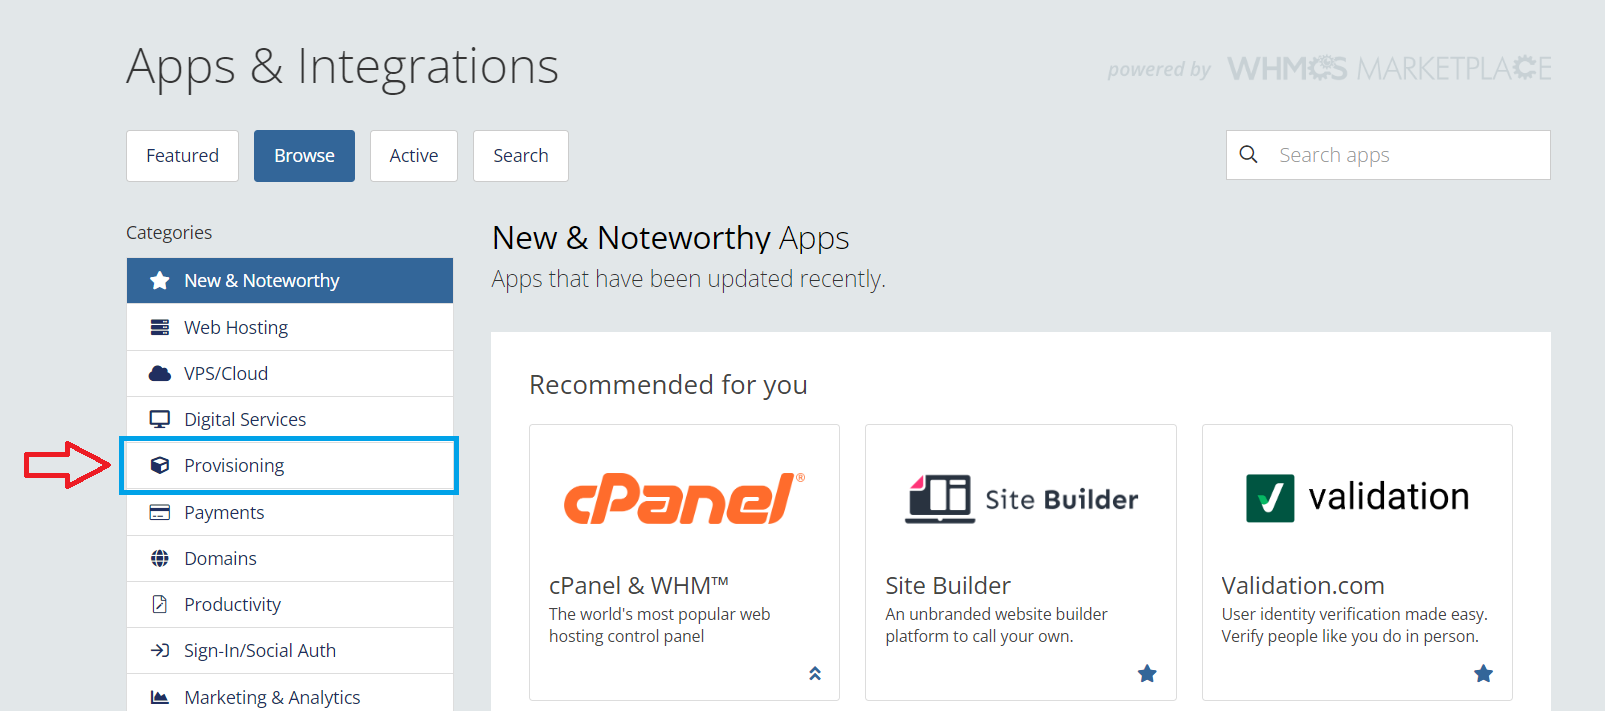
- From WHMCS Admin > Setup > Apps & Integrations > Browse > Provisioning
- Select “Apps & Integrations” from Configuration Menu Items
- Choose “Browse” Option
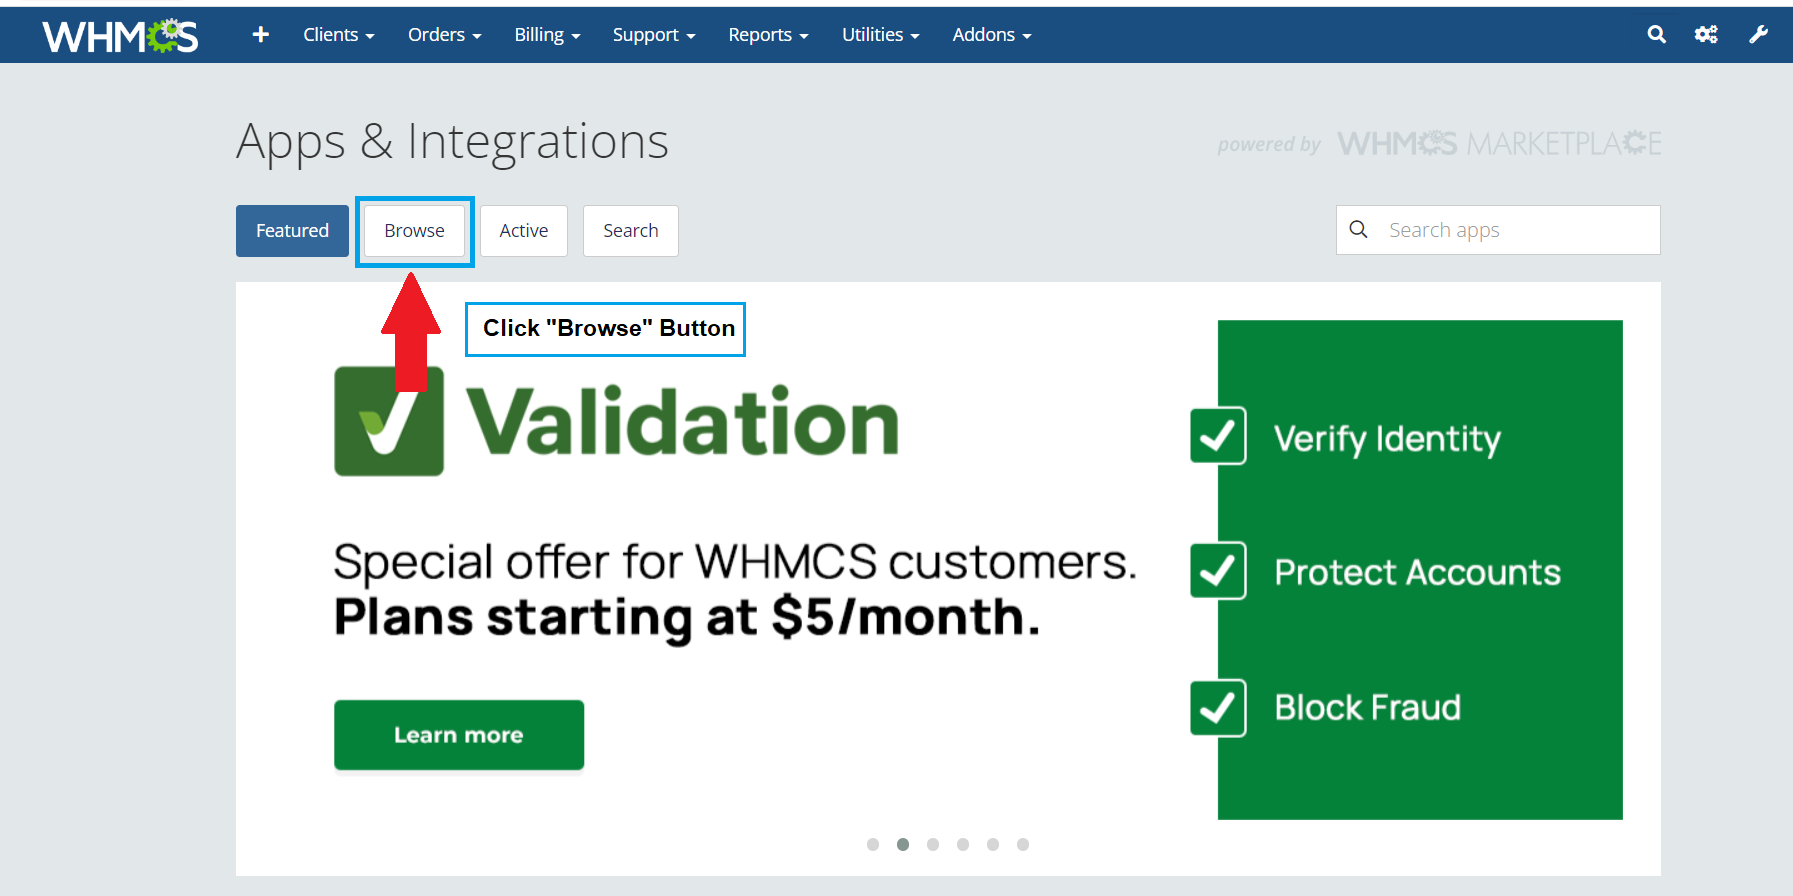
- Choose “Provisioning” category
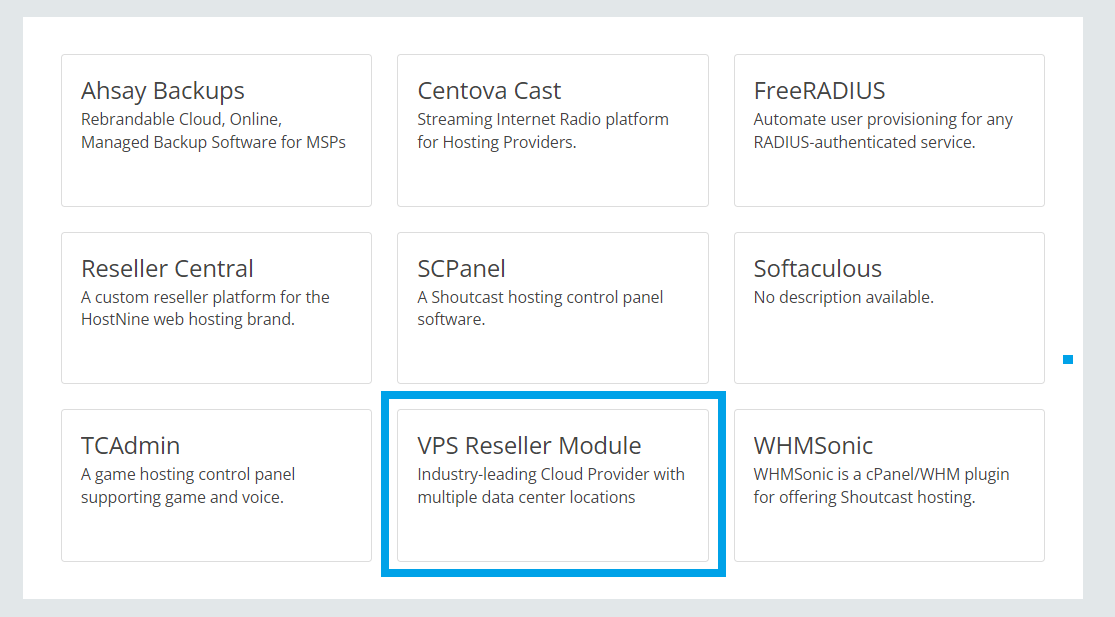
- Click the “VPS Reseller Module”
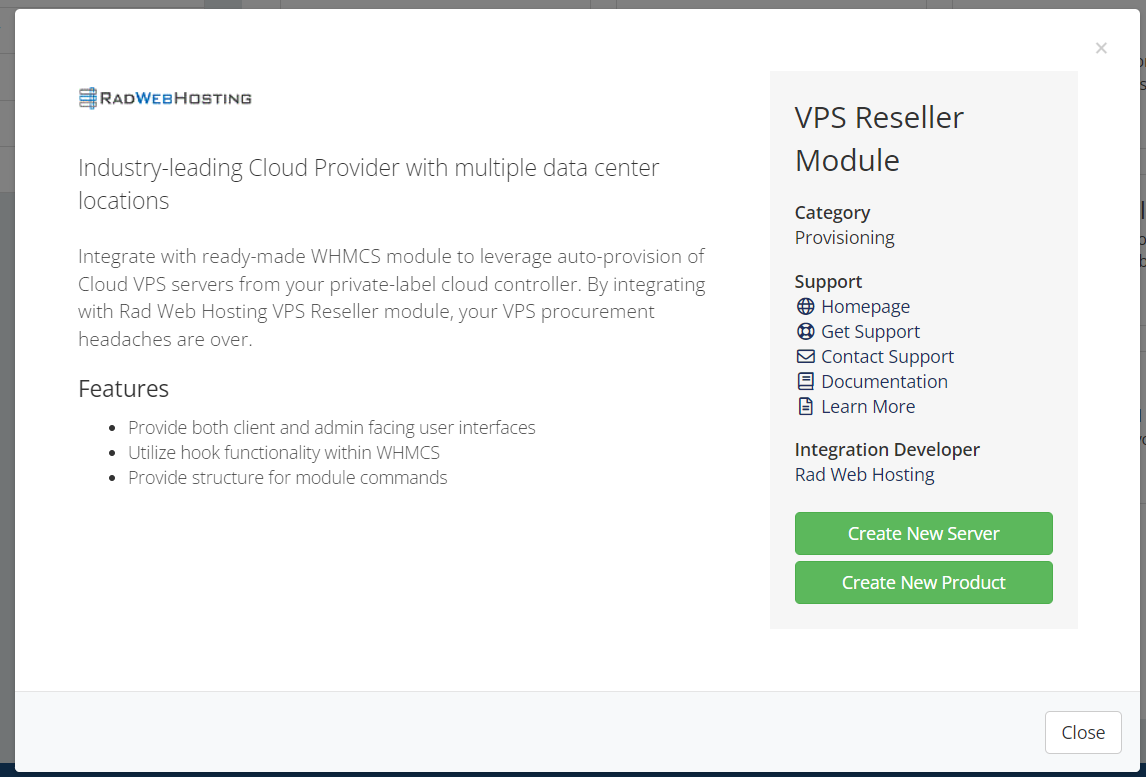
- Viewing VPS Reseller Module Application Details
 You can also access this interface directly with the following URL:
{your_whmcs_admin_url}/apps/app/servers.virtualizor_cloudFor example, if your WHMCS Admin is at
https://yourdomain.com/admin, then you will access:https://yourdomain.com/admin/apps/app/servers.virtualizor_cloud
- Select “Apps & Integrations” from Configuration Menu Items
- Click “Create New Server”. Follow directions:
-
- Module: Virtualizor_cloud
- Hostname of IP Address: IP Address (provided in Welcome Email)
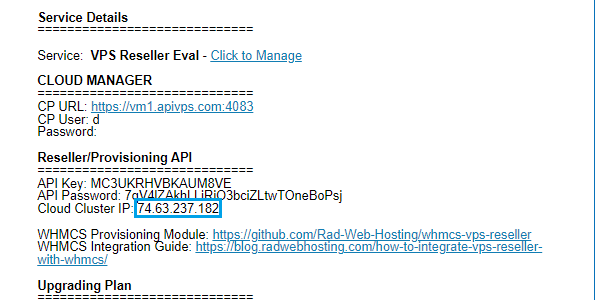
- Username: API KEY (provided in Welcome Email)
- Password: API PASSWORD (API SECRET) (provided in Welcome Email)
Enter the values in the provided fields: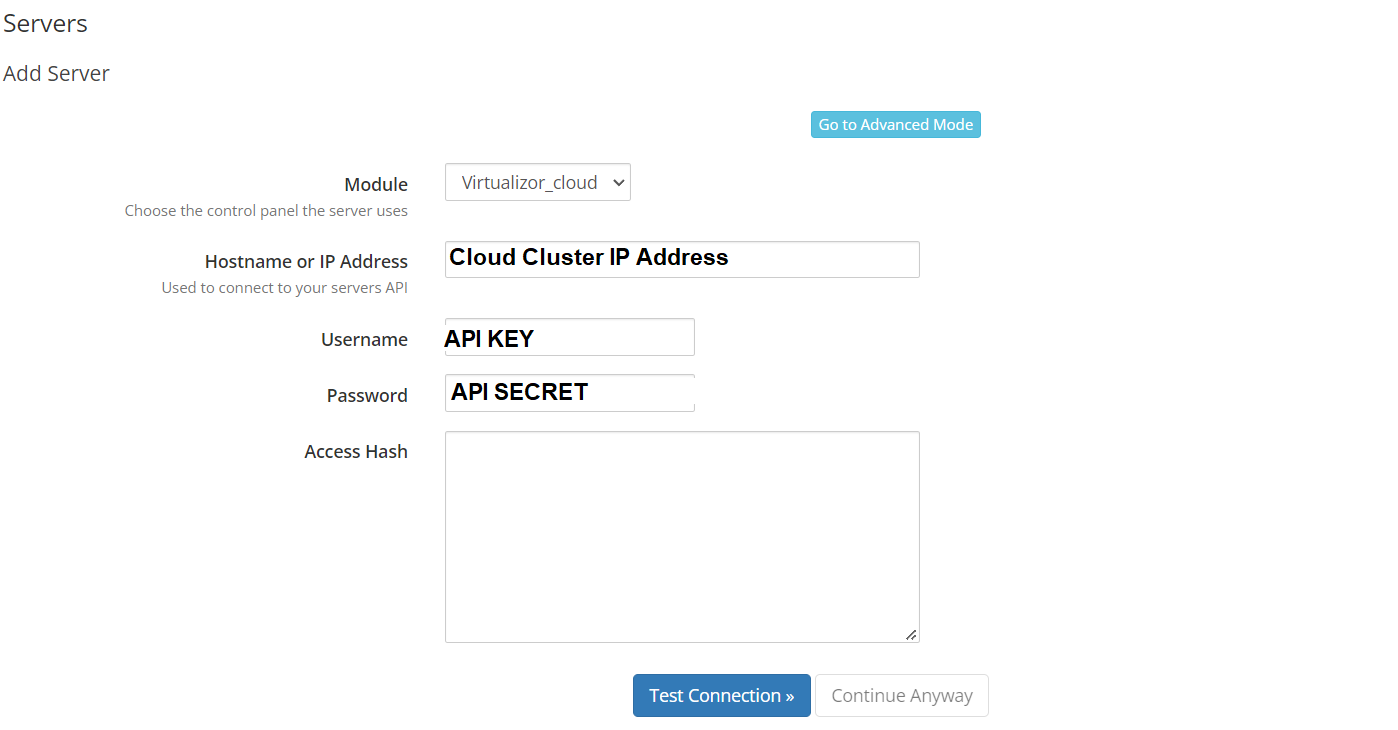
- Click “Test Connection” to validate configuration
- Click “Add Server” to add this server to WHMCS
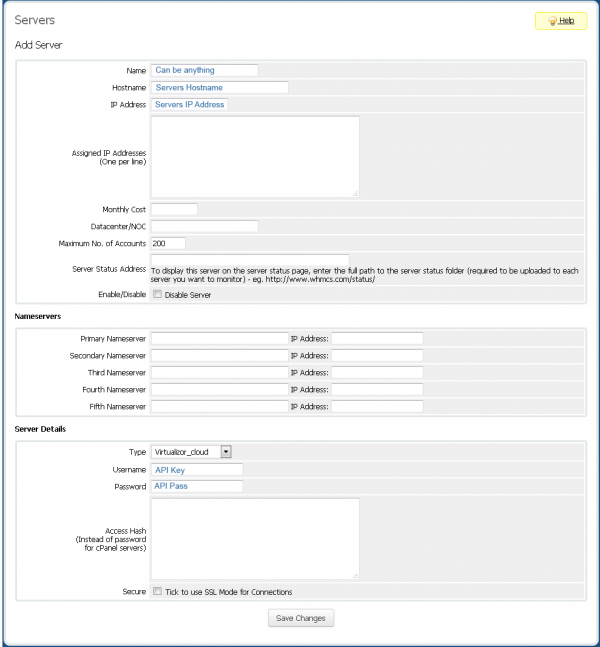
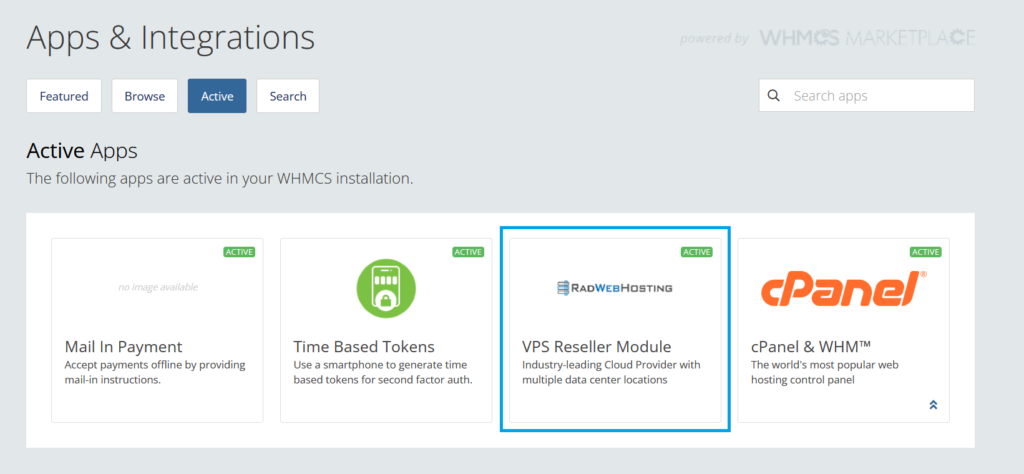
You can verify the connection from WHMCS Admin > Setup > Apps & Integrations > Active:
-
Conclusion
You now know how to install VPS Reseller WHMCS module.
 Use promo code FAST50 for 50% off SSD VPS servers!


 You can also access this interface directly with the following URL:


