This article provides a guide for how to create custom VPS Reseller Welcome Email in WHMCS.
Create Custom VPS Reseller Welcome Email
We recommend to create a new VPS welcome email template, rather than use the default template provided with WHMCS.
We have provided a custom email template to use for sending VPS server credentials to end-user when VPS is provisioned (created). This template will utilize merge fields and organize important server details better than the default “VPS/Dedicated Server Welcome Email” template that is provided with WHMCS. How to add custom Welcome Email template:
- In WHMCS admin area, navigate to “Setup->Email Templates”
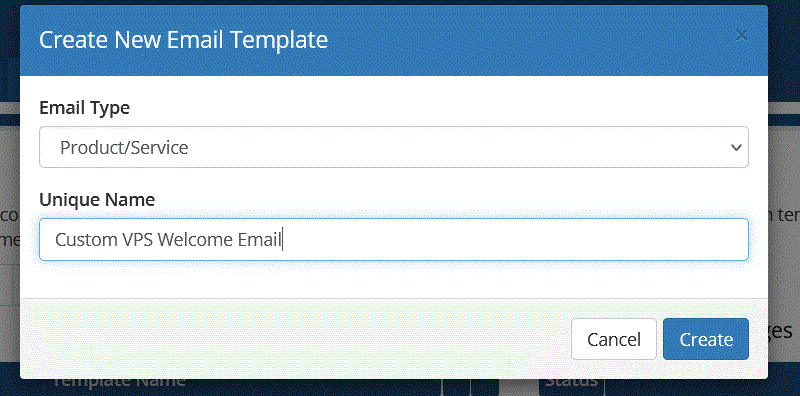
- Choose to “Create New Email Template”
- Select “Product/Service” from the “Email Type” drop-down menu and give the template a unique name

- Configure the email sending settings
- Add a subject for your email (i.e. “New VPS Server Details”)
- To import our pre-made template, click “Enable/Disable Rich-Text Editor” button
- Copy and paste the email template from below:
| <p>Dear {$client_name},</p> | |
| <p><strong>PLEASE PRINT THIS MESSAGE FOR YOUR RECORDS – PLEASE READ THIS EMAIL IN FULL.</strong></p> | |
| <p>We are pleased to inform you that the VPS you ordered has been set up.</p> | |
| <p><strong>Server Details<br /></strong>=============================</p> | |
| <p>{$service_product_name} - <a title="Manage {$service_product_name}" href="{$whmcs_url}clientarea.php?action=productdetails&id={$service_id}" target="_blank" rel="noopener">Click to Manage</a></p> | |
| <p>ServerName: {$service_domain}<br />Main IP: {$service_dedicated_ip}<br />Root pass: {$service_password}<br />{if $service_assigned_ips} IP Address Allotted: {$service_assigned_ips} {/if}</p> | |
| <p><strong>Client Area<br /></strong>=============================</p> | |
| <p>Manage Service from Client Area: <a href="{$whmcs_url}clientarea.php?action=productdetails&id={$service_id}">Click Here</a></p> | |
| <p><strong>Manager Details<br /></strong>=============================</p> | |
| <p>URL: <a>https://{$service_server_hostname}:4083</a><br />Username: {$service_username}<br />Password: {$service_password}</p> | |
| <p><strong>Direct Access<br /></strong>=============================</p> | |
| <p>You can access your server over SSH. If you are a Windows user, you can use a free SSH client called Putty which can be downloaded from:<br /><a href="http://www.chiark.greenend.org.uk/~sgtatham/putty/download.html" target="_blank" rel="nofollow noopener">http://www.chiark.greenend.org.uk/~sgtatham/putty/download.html</a></p> | |
| <p>=============================</p> | |
| <p>{$signature}</p> |
This is a basic template layout and you can customize or add additional details, if desired.
Conclusion
You now know how to create custom VPS Reseller Welcome Email.
 👀 Choose SSD-powered VPS servers for increased speed, power, and security! Now 50% off- starting from only $1.99/mo.


