Follow this guide for how to add or delete VPS custom ISO files in VPS Panel. Users can upload custom ISO files to install on KVM VPS.
How to Add or Delete VPS Custom ISO
To add or delete VPS custom ISO files, follow the steps below:
Pre-requisites
- Must be available over publicly-accessible URL
- Supports AMD64 architecture
Login in to VPS Panel
First, Login to the VPS Panel and navigate to the ISO option in the menu.

Add ISO File
To add your custom .ISO to the VPS panel, follow the steps provided:
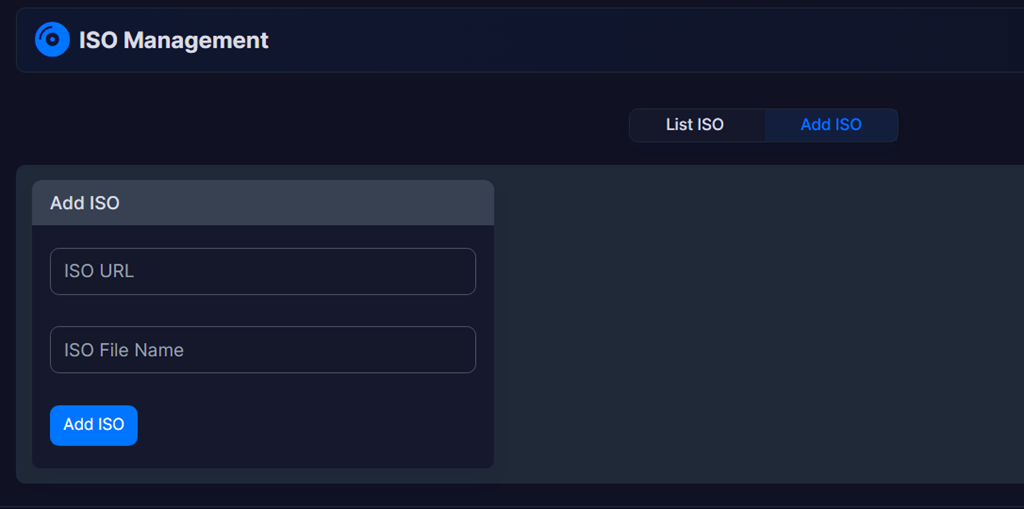
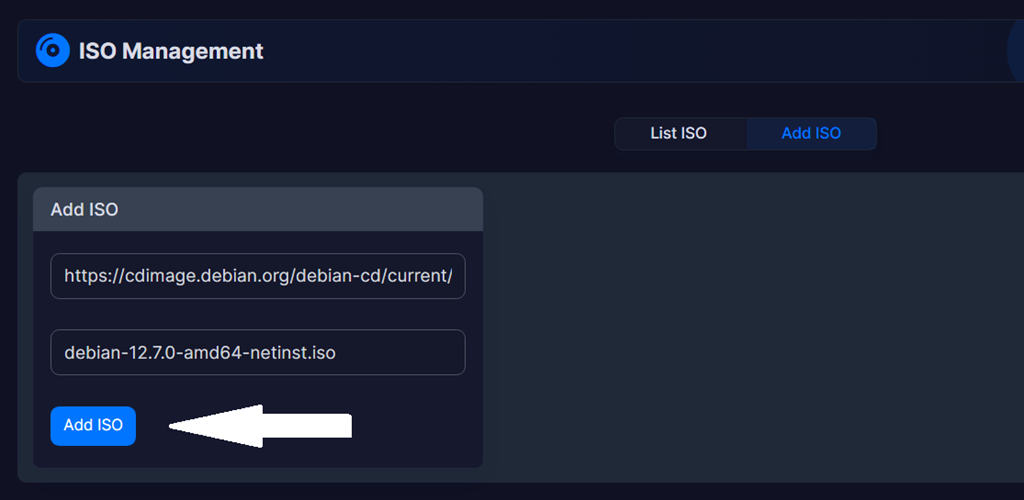
- Navigate to the "Add ISO" interface and provide the valid, publicly-accessible ISO URL and name:

-
Next, click "Add ISO" button to submit:

- Depending on the disk size and the connection to the source URL, this process can vary in length, but a confirmation message will appear once the process has successfully completed:

- To verify, access the "List ISO" interface:

- You now see all the ISO details in the "List ISO" interface.
You can now attach the ISO or boot a VPS from it.
Delete ISO
Users can delete an ISO using the ISO management page.
Follow the steps below to delete an ISO from the VPS Panel:
-
Select the ISO(s) you want to delete:

- Confirm the deletion:

- Deletion of your ISO will begin upon confirmation and a notification will be sent upon completion.
Conclusion
You now know how to add custom ISO files in VPS Panel, which can be installed to VPS. You also learned how to delete the custom .ISO from the VPS panel.
Related
See also:
 👀 Choose SSD-powered VPS servers for increased speed, power, and security! Now 50% off- starting from only $1.99/mo.


