 👀 Choose SSD-powered VPS servers for increased speed, power, and security! Now 50% off- starting from only $3.19/mo.
This article provides a guide to customize cPanel branding. This guide requires WHM Reseller Hosting account or root-access (via cPanel VPS or cPanel Dedicated Servers).
How to Customize cPanel Branding
WHM/cPanel servers provide WHM users (both resellers and root-users) the ability to customize cPanel branding and company information. This custom branding and company information is then displayed to all accounts owned by the WHM user account.
In order to customize cPanel branding for root or reseller accounts, follow the steps provided:
- Login to WHM server.
- Navigate to the cPanel Customization interface (Home -> cPanel -> Customization).
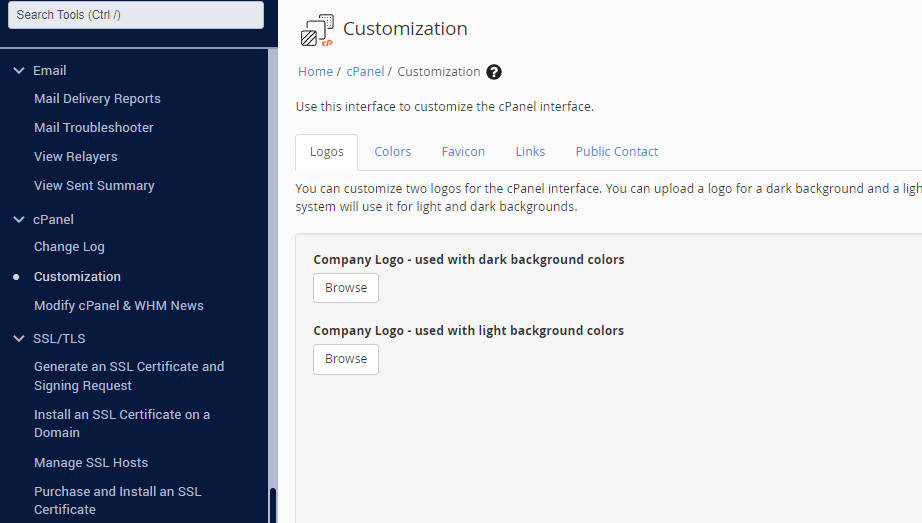
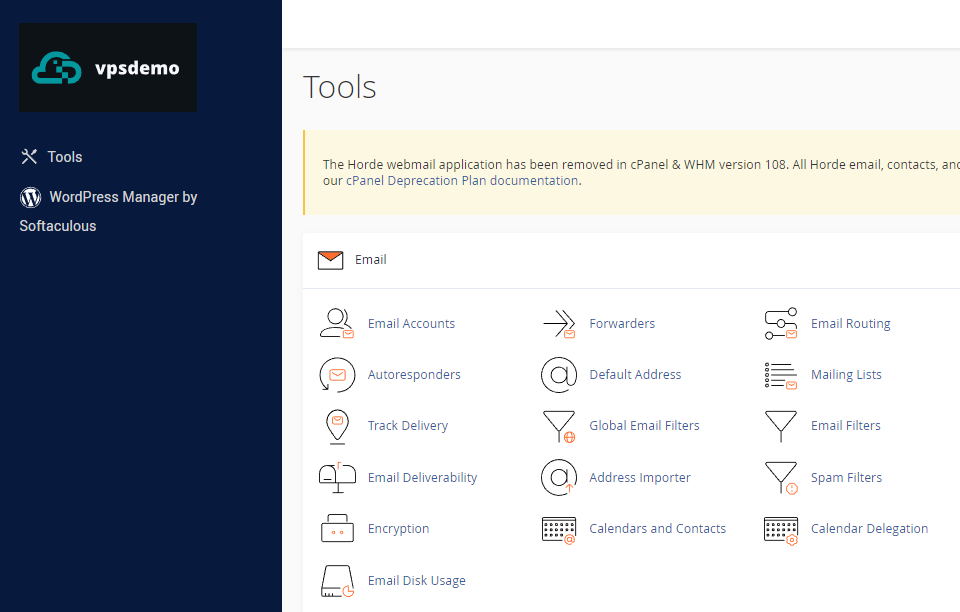
- Upload any company logos (recommended 2:1 aspect ratio; requires .svg). The logos will be displayed in all cPanel accounts owned by the WHM user account:
- Navigate to the "Colors" tab in cPanel Customization to modify the color scheme of cPanel:
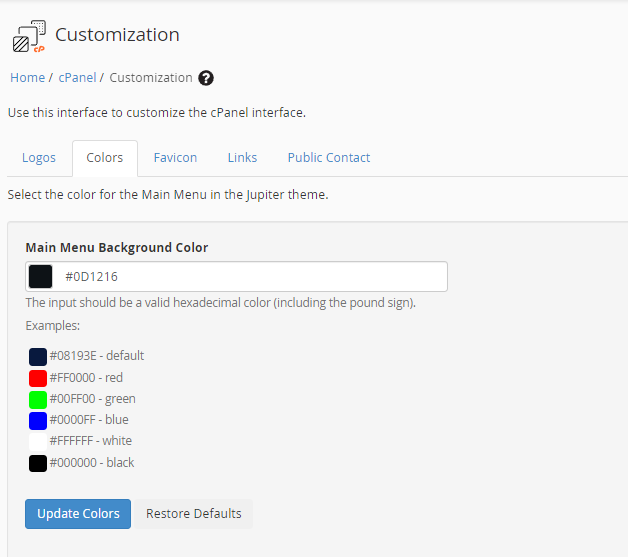
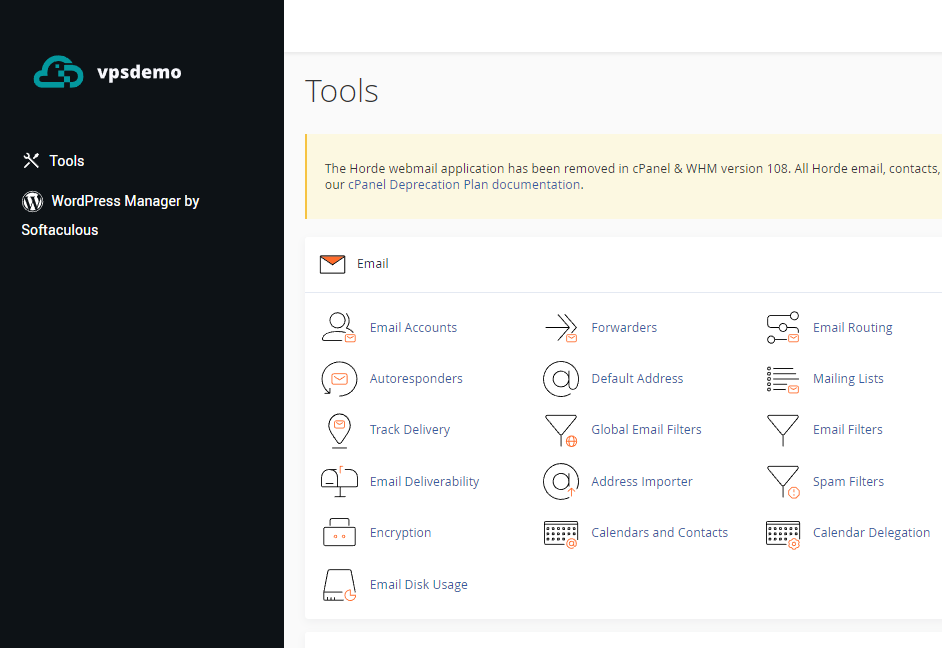
- Click "Update Colors" to save the custom color. This setting is applied in cPanel accounts:
- Next, upload your custom favicon file and click "Update Favicon" to save the change. (The favicon must be a .ico file. The images dimensions must be 32px by 32px.)
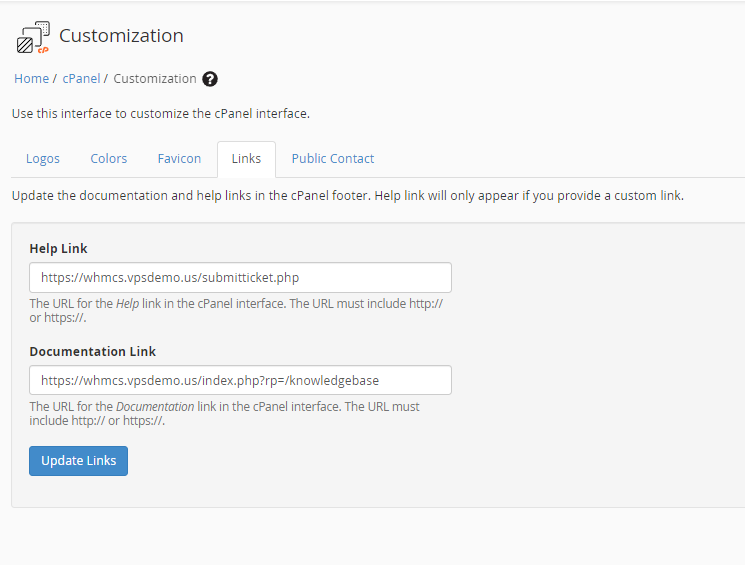
- Navigate to the "Links" tab and enter your custom "Help" (i.e. Get Support) and "Documentation" (i.e. Knowledge Base/Guides) links. Click "Update Links" button to save these changes. Links will be presented server-wide in all owned cPanel accounts.
- Finally, access the "Public Contact" tab to update the "Public Company Name" and "Public Contact URL". When a user wants to contact their hosting provider, they may not be able to locate the correct information. Enter your company’s public contact information below to assist users with these requests.
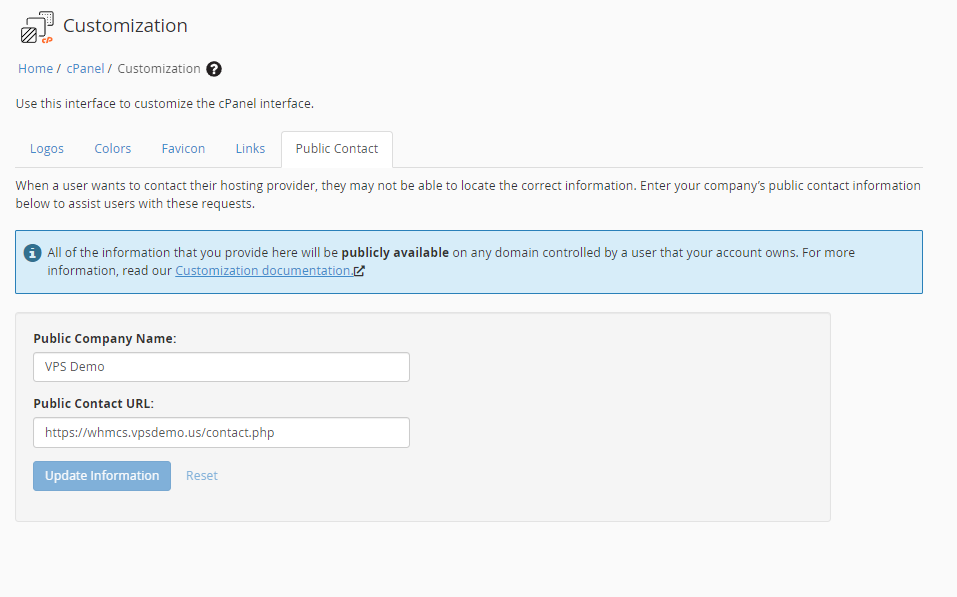
- Click "Update Information" to save any changes made.


Conclusion
You now know how to customize cPanel branding of your server.
