This article provides a guide demonstrating how to update rDNS for cloud VPS and dedicated servers.
What is rDNS?
Reverse DNS, or rDNS (also known as PTR record), is a DNS record which maps an IP address to a specific hostname. This is commonly required when configuring email servers.
How to update rDNS for Cloud VPS and Dedicated Servers
To update rDNS for Cloud VPS and Dedicated Servers, you can use either one of the following methods:
1. Update rDNS from Cloud Panel
To update rDNS from Cloud Panel, follow the steps provided:
- Login to the Cloud Panel.
- Navigate to the "Reverse DNS" manager, using sidebar navigation menu.
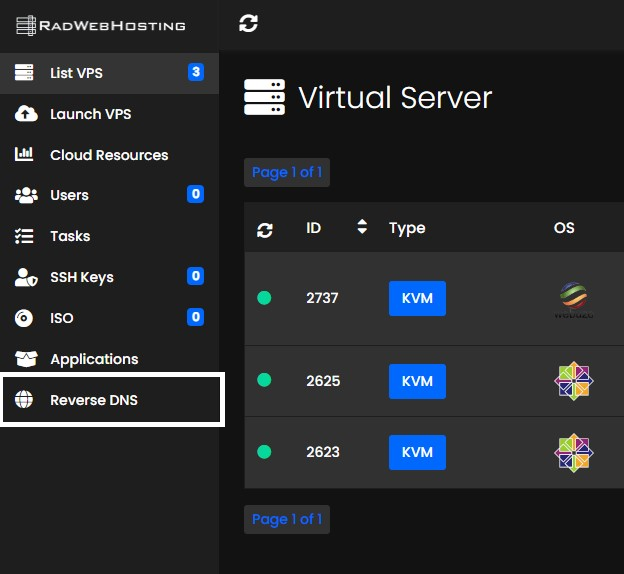
- To add new rDNS record for your server IP, click to "Add Reverse DNS" from the submenu.
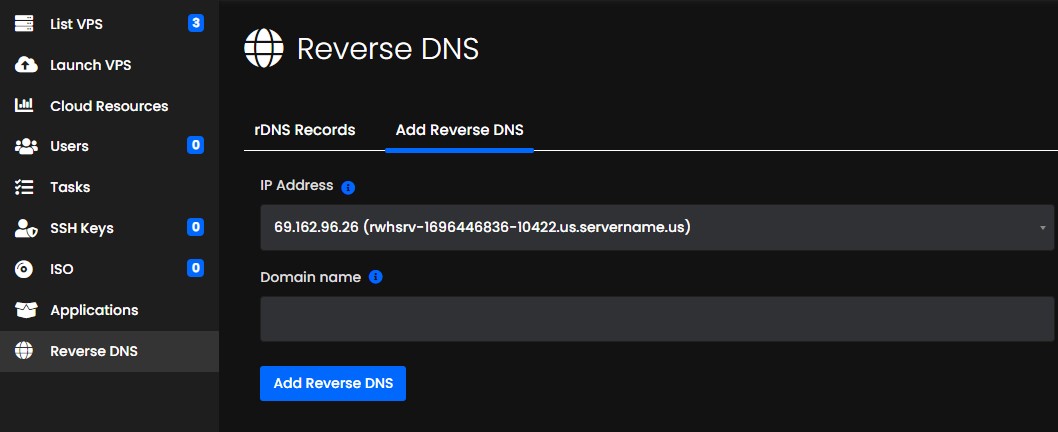
- Choose the IP Address from the dropdown list.
- Enter the Domain Name to associate with the IP address.
- Click "Add Reverse DNS" button to create the reverse DNS entry.
- Check popup window for confirmation of successful rDNS creation.
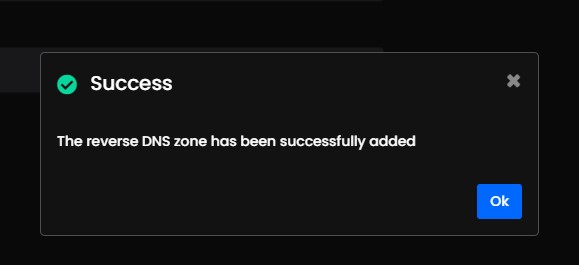
Congratulations, you have successfully created rDNS record for your IP address of your cloud VPS server using the Cloud Panel.
2. Update rDNS from Client Area
To update rDNS from Client Area, follow the steps provided:
- Login to the Hosting Dashboard.
- Navigate to "My Products and Services".
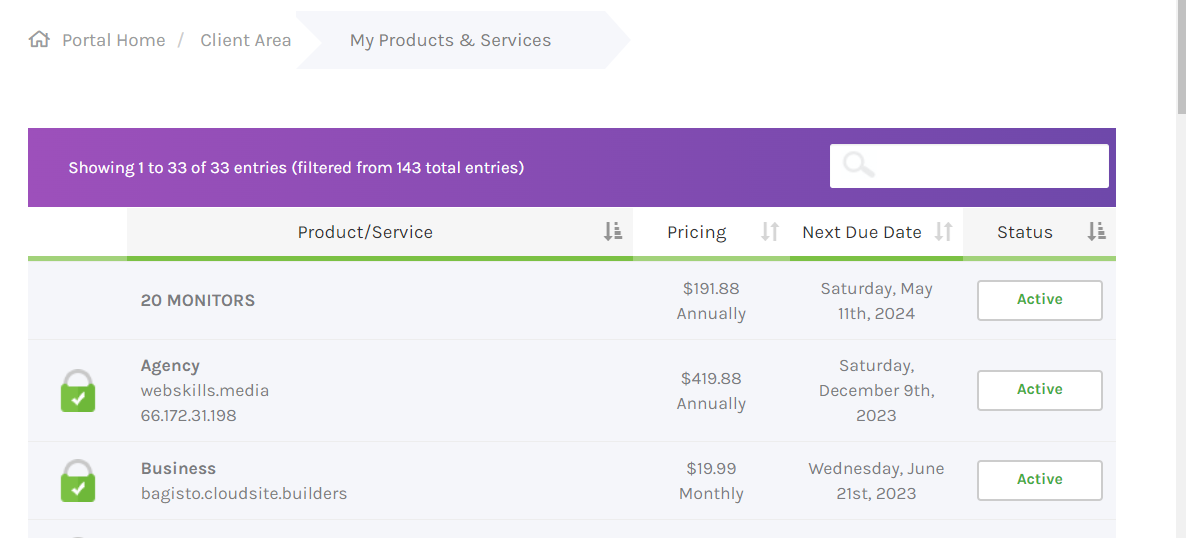
- Select the cloud VPS service to manage the rDNS records.
- Use the server management interface to navigate to the "Reverse DNS" menu item.
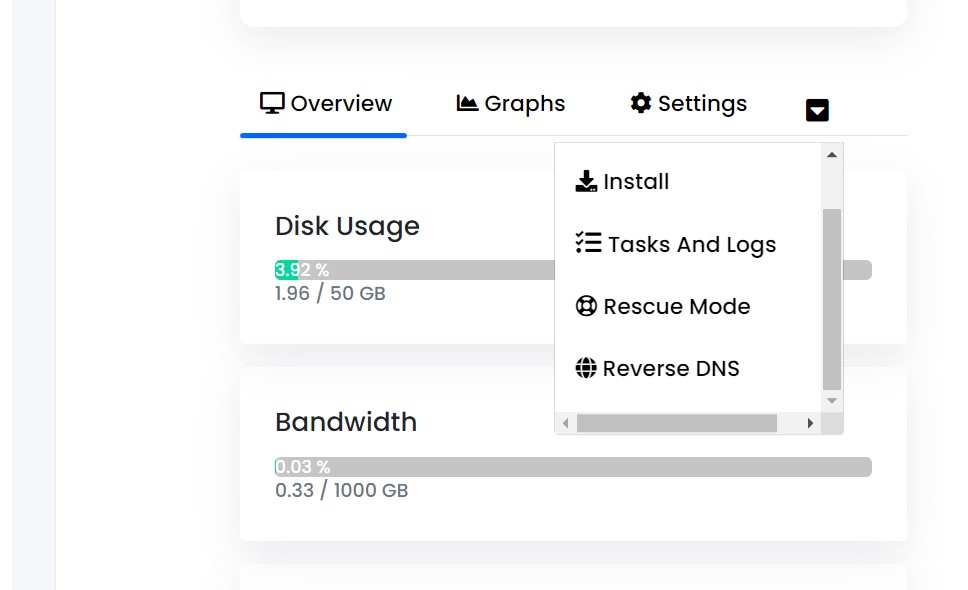
- Choose the IP Address from the dropdown list.
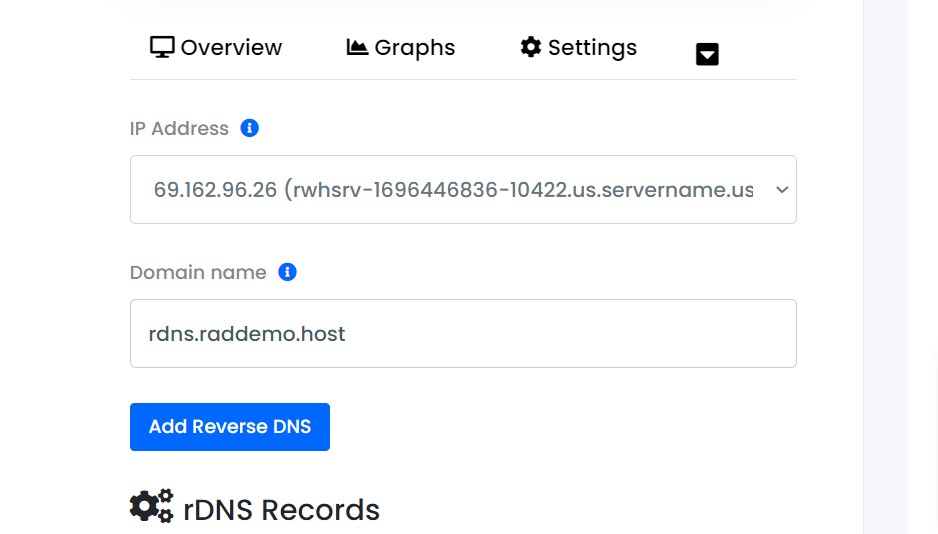
- Enter the Domain Name to associate with the IP address.
- Click "Add Reverse DNS" button to create the reverse DNS entry.
- Check popup window for confirmation of successful rDNS creation.
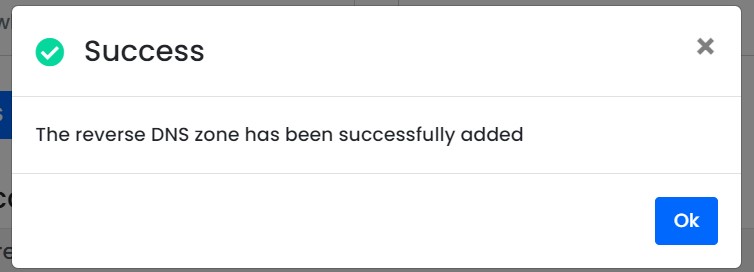
Congratulations, you have successfully created rDNS record for your IP address of your cloud VPS or dedicated server using the Client Area.
 Use promo code FAST50 for 50% off SSD VPS servers!


