This article provides a guide for how to install CyberPanel on VPS server.
What is CyberPanel?
CyberPanel is a lightweight and powerful control panel for the modern web.
Features of CyberPanel:
- OpenLiteSpeed
- Multiple PHP versions (5.6 - 8.1, 8.0 as default)
- DNS Server (Bind) with clustering capabilities
- POP/IMAP/SMTP mail services with Anti-Virus, Anti-Spam, and Webmail (ClamAV, SpamAssassin, Sieve, Roundcube)
- MariaDB and/or PostgreSQL databases
- Let's Encrypt SSL support with wildcard certificates
- Firewall with brute-force attack detection and IP lists (iptables, fail2ban, and ipset).
CyberPanel System Requirements
- Centos 7.x, Centos 8.x, Ubuntu 18.04, Ubuntu 20.04, AlmaLinux 8
- Python 3.x
- 1024MB RAM, or higher
- 10GB Disk Space
How to Install CyberPanel on VPS
- Login to your VPS using SSH.
- Run the following command as root user:
sudo yum update
sh <(curl https://cyberpanel.net/install.sh || wget -O - https://cyberpanel.net/install.sh)
- Configure your install via CyberPanel installer:
CyberPanel Installer v2.1.2

RAM check : 184/981MB (18.76%)

Disk check : 7/30GB (27%) (Minimal 10GB free space)

1. Install CyberPanel with OpenLiteSpeed.

2. Install Cyberpanel with LiteSpeed Enterprise.

3. Exit.


  Please enter the number[1-3]:
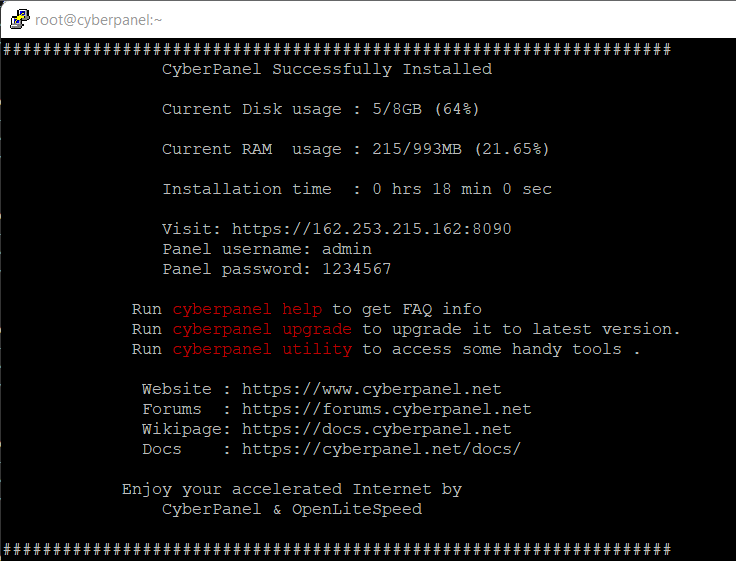
- Once complete, you will be presented with the CyberPanel installer confirmation:

- You can now login to your server from the Web GUI using port 8090.
Conclusion
You now are able to install CyberPanel on VPS server.
 👀 Choose SSD-powered VPS servers for increased speed, power, and security! Now 50% off- starting from only $1.99/mo.


