 👀 Choose SSD-powered VPS servers for increased speed, power, and security! Now 50% off- starting from only $3.19/mo.
This article provides a guide for server administrators who want to install VestaCP on VPS server from Cloud Panel.
What is VestaCP?
VestaCP is a free and open source server control panel software, distributed under the BSD license, with support for web, DNS, database, FTP and email servers. VestaCP can also be extended by numerous official and unofficial integrations and modules.
VestaCP's reputation for being user-friendly and for frequent updates and patches make it a popular choice for users looking for a free alternative to the premium control panels, which can start at $5/mo and cost as much as $1000/mo depending on brand and usage.
VestaCP System Requirements
To install VestaCP on a CentOS VPS, the following conditions must be met:
- Designated fully-qualified domain name for the hostname (ex: server.yourdomain.com)
- Hostname must resolve to a public IPv4 or Ipv6 address
- Network Manager must be disabled
- Minimum hardware requirements: 1 GHz CPU, 512 MB RAM, 20 GB Disk
- Recommended minimum hardware: 1.1 GHz CPU, 2 GB RAM, 40 GB Disk
How to Install VestaCP on VPS Server from Cloud Panel
Follow the steps provided to install VestaCP on a VPS from Cloud Panel:
- Login to Cloud Panel
- Navigate to "List VPS" (from side menu)
- Select the VPS that VestaCP will be installed on
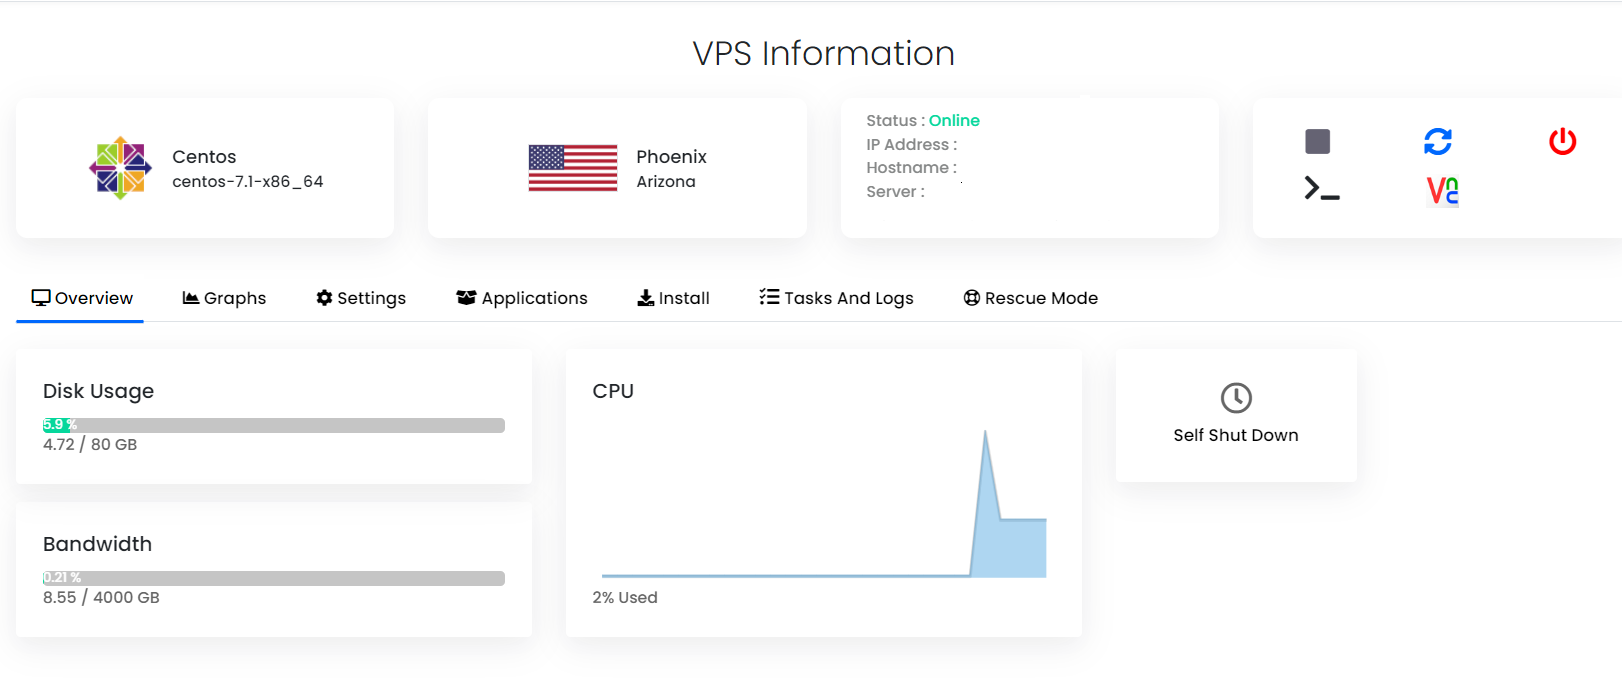
- View VPS information to verify server details
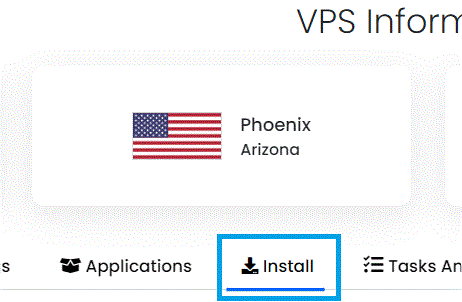
- Navigate to "Install" tab.
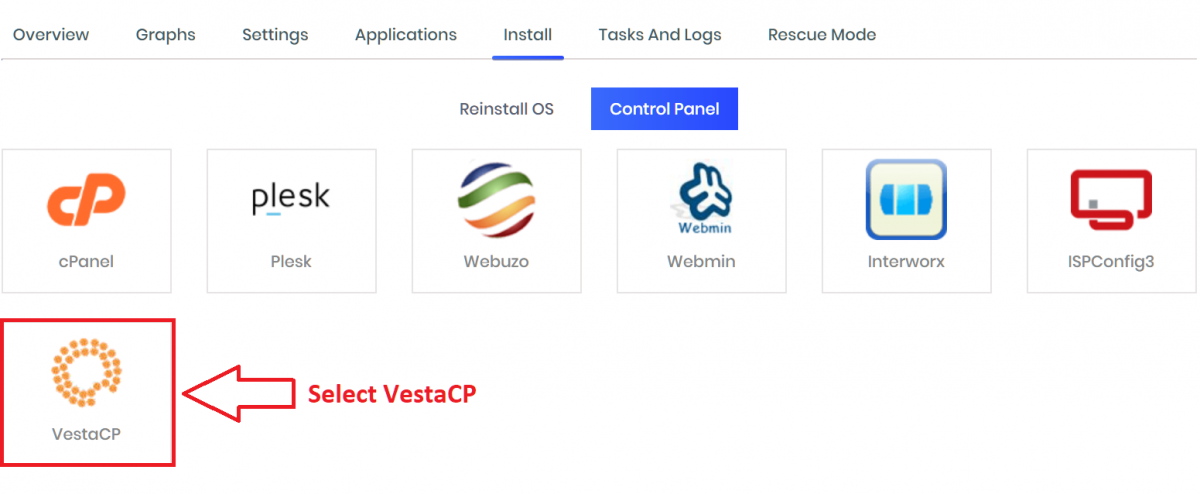
- Select VestaCP from the "Control Panels" menu.
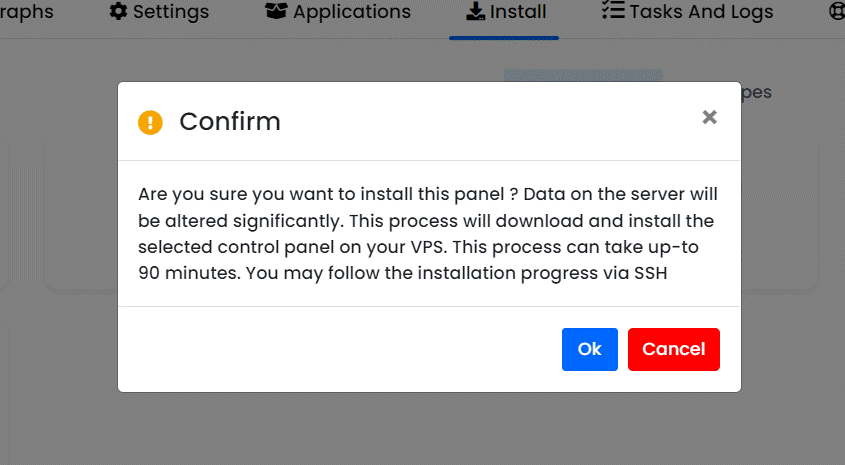
- Click to accept the data loss warning and start the automated VestaCP installation.
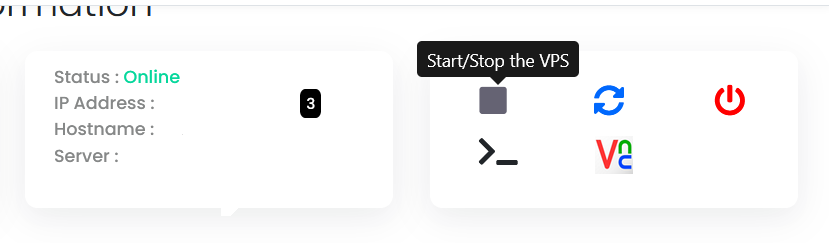
- Before the installation begins, you must shutdown the VPS by clicking the "STOP" icon, as shown in the image below:
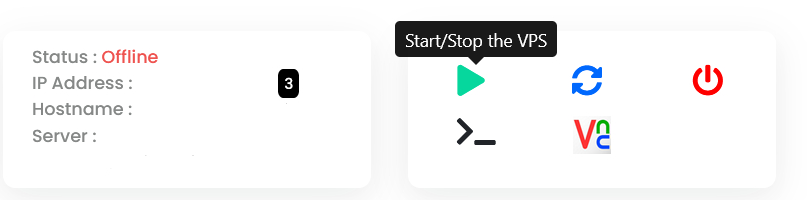
- Once the VPS has shutdown, click the "PLAY" icon to restart it, as shown below:
- When the VPS has booted, your installation will begin.
- An email with the control panel installation details will be sent.
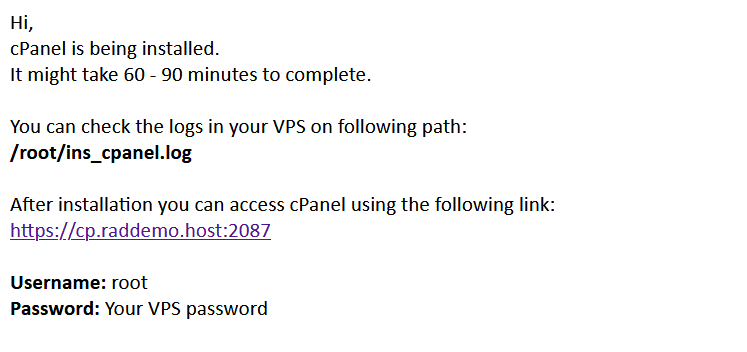
- You may now navigate to the VestaCP login screen in your browser to configure the VestaCP settings. VestaCP uses port 8083 by default.


As VestaCP is an open source software, no license keys are required to access.
How to Uninstall VestaCP
To uninstall VestaCP, follow the steps below:
- Login as root via SSH.
- Run the following commands:
For CentOS/RHEL:
For Debian/Ubuntu:service vesta stop yum remove vesta* rm -f /etc/yum.repos.d/vesta.repo rm -rf /usr/local/vestaservice vesta stop apt-get remove vesta* rm -f /etc/apt/sources.list.d/vesta.list rm -rf /usr/local/vesta - Remove any VestaCP cron jobs.
VestaCP is now uninstalled.
Conclusion
You now know how to install VestaCP from Cloud Panel as well as how to uninstall VestaCP.
