 👀 Choose SSD-powered VPS servers for increased speed, power, and security! Now 50% off- starting from only $3.19/mo.
This article provides a step-by-step guide to create WordPress Staging Site for testing and development.
What is a WordPress Staging Site?
With WordPress staging site feature, WordPress administrators are able to test any number of variables or changes out on a staging version of their site.
What Problems does a Staging Site Solve?
Essentially, the staging site acts as a sandbox of their live WordPress environment plus, in most use-cases, any number of proposed changes or updates. This provides a safe, hands-on environments for conducting updates directly to a production site, but in a private, secure manner that is not accessed by web visitors, robots, of others that would otherwise get a first-hand experience of this process, were they pushed directly to the production site.
Prerequisites
- A Shared Hosting or Reseller Hosting account from Rad Web Hosting
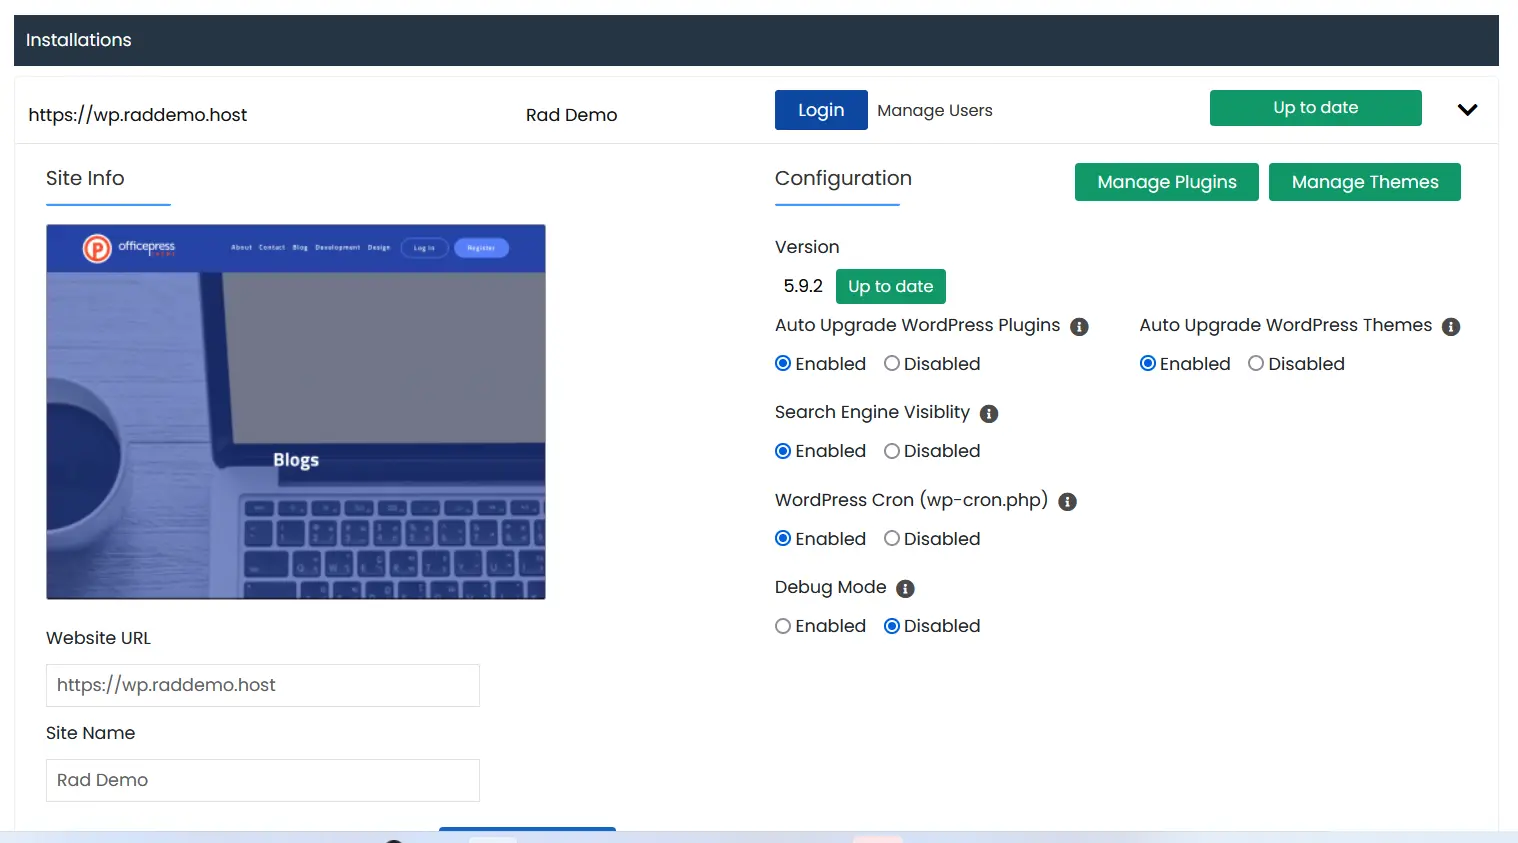
- WordPress Manager panel enabled on the server
- A live WordPress site, enabled in WordPress Manager interface
- A subdomain to host the Staging version
How to Create WordPress Staging Site for Testing
The WordPress Staging Site feature is available in the WordPress Manager interface.
To create a Staging version of a WordPress site that is currently hosted on the server and also configured with the WordPress Manager panel, follow these steps:
- Login to the account's cPanel interface
- Navigate to the WordPress Manager icon and click it to access it
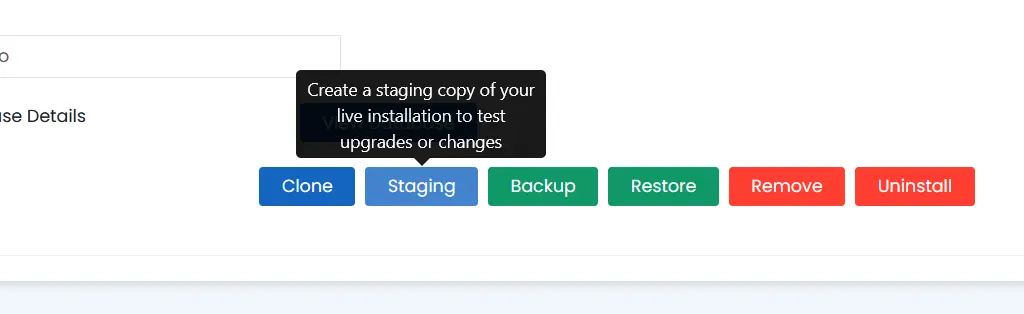
- Find the WordPress site to create staging version, and expand the details
- Click "Staging" button to create a staging copy of live WP installation
- Configure the Staging site details
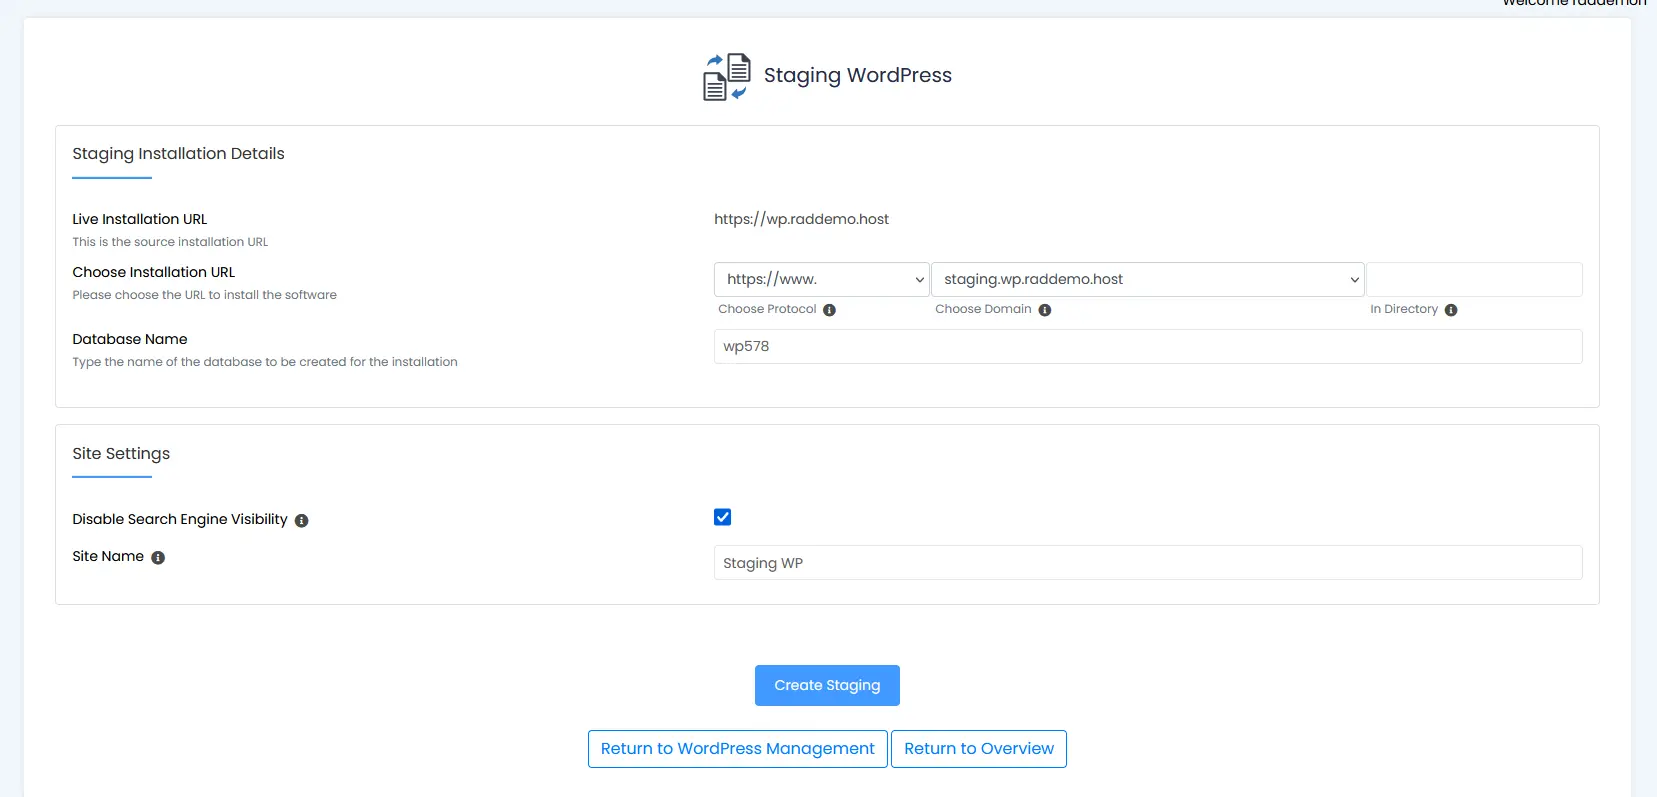
- We recommend choosing a subdomain, NOT a sub-directory, for location of staging copy (See: Create a Dedicated Subdomain for WordPress Staging)
- Ticking the box for "Disable Search Engine Visibility" is considered a best practice for SEO.
- Click 'Create Staging' button to begin installation
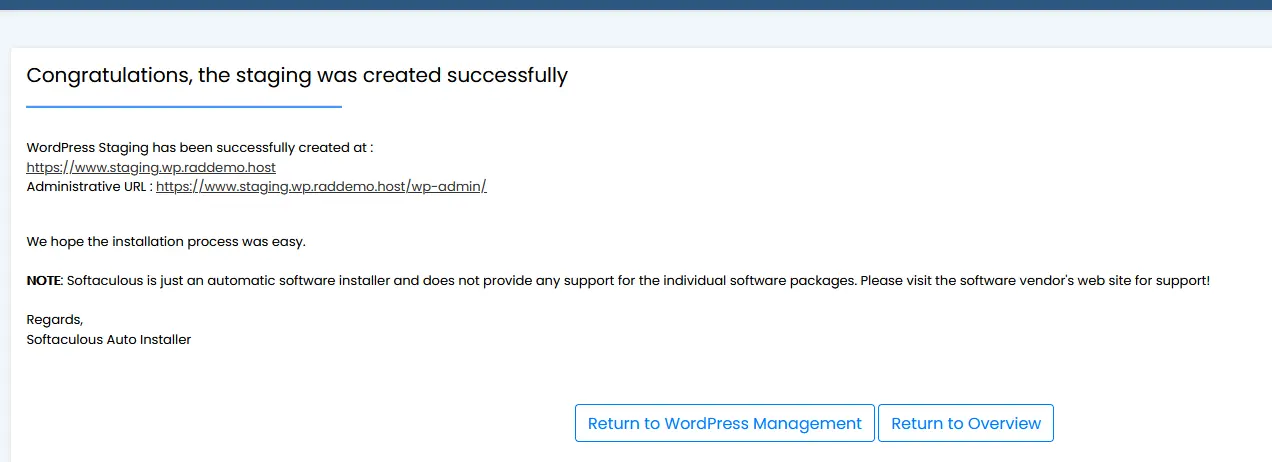
- A confirmation message will appear once the staging installation is created successfully.


You now know how to create WordPress staging site for testing and development.
Next Steps
Now, you are ready to run experiments, perform load testing, and run updates to your staging environment Find and fix bugs and resolve any dependency issues in a safe and discreet sandbox, while the production site continues serving visitors, out of harm's way.
