This article will provide a guide for changing the nameservers your domain points to in the Hosting Dashboard.
Change the Nameservers Your Domain Points to in the Hosting Dashboard
To change the nameservers your domain points to in the Hosting Dashboard, follow the steps below:
- Login to your Hosting Dashboard account.
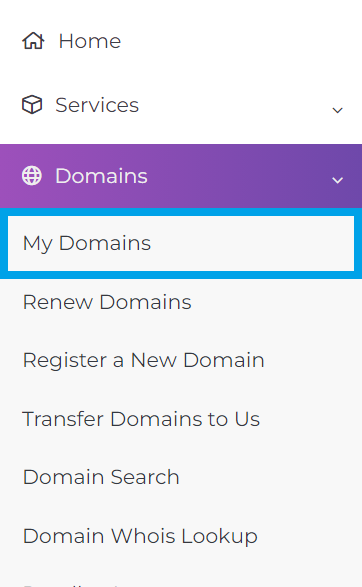
- Navigate to Domains -> My Domains.
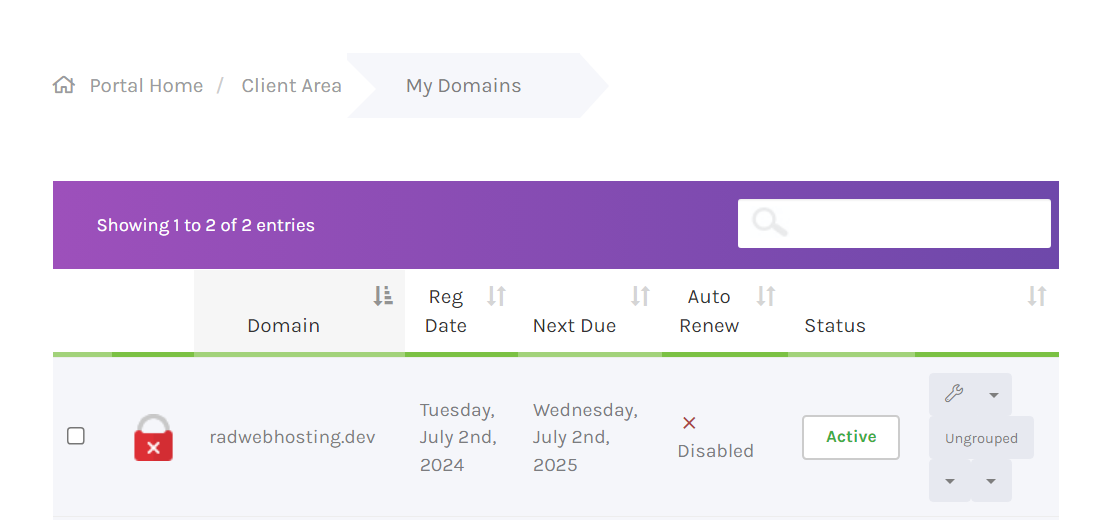
- Locate the domain you want to change the nameservers for.
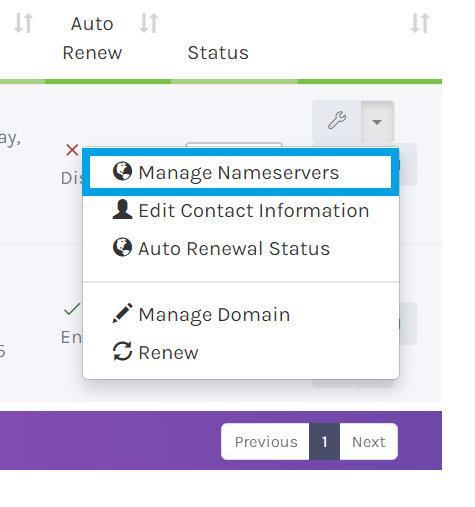
- Choose Manage Nameservers from the dropdown list.
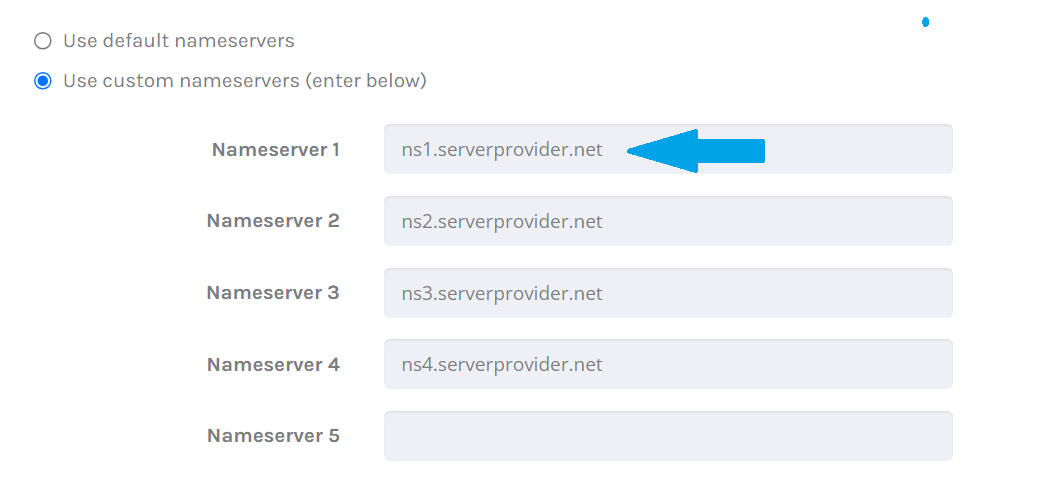
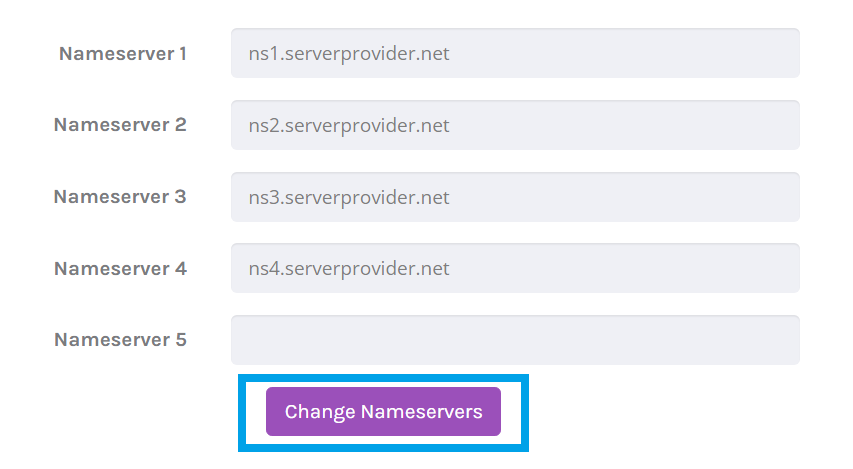
- Use the Nameserver fields to enter the desired nameservers.
- Click Change Nameservers button to submit the nameserver changes.
- Your nameserver changes have now been submitted.
Your domain should resolve to the new nameservers shortly. For help with changing your nameservers, please open a ticket with the support department.
 👀 Choose SSD-powered VPS servers for increased speed, power, and security! Now 50% off- starting from only $1.99/mo.


