This article refers to cPanel version 84 and later.
Enable Let's Encrypt for AutoSSL
Follow these steps to enable Let's Encrypt SSL provider:
- Login to the cPanel/WHM server as root user
- Run the following command:
/usr/local/cpanel/scripts/install_lets_encrypt_autossl_provider
- Login to WHM on your server
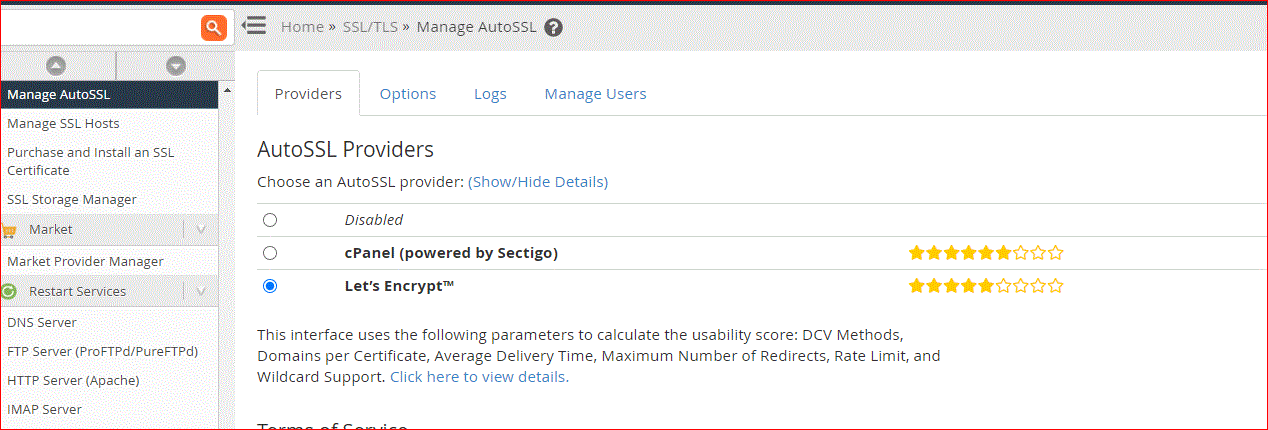
- Navigate to SSL/TLS->Manage AutoSSL
- Select "Let's Encrypt" from the list of providers

- Select the "I agree to these terms of service." option
- Click "Save"
Your server now uses Let's Encrypt to fulfill AutoSSL requests on behalf of your server.
 👀 Choose SSD-powered VPS servers for increased speed, power, and security! Now 50% off- starting from only $1.99/mo.


