 👀 Choose SSD-powered VPS servers for increased speed, power, and security! Now 50% off- starting from only $3.19/mo.
This guide will provide a method of viewing/testing a domain on Rad Web Hosting's servers without actually changing that domain's global DNS over to Rad Web Hosting's network on a Windows PC. Typically, this type of functionality is gained through using Apache's mod_userdir, but this is actually a highly ineffective approach for serious development and testing.
The reason the above method is ineffective is due to the well-documented compatibility issues between Apache's mod_userdir and mod_rewrite. Often, in order to properly test an application, the application's URL will need to be changed to the mod_userdir temporary URL (http://example.com/~fred), which can cause unexpected and unnecessary complications.
The preferred alternative is modify your local hosts file. By modifying your hosts file properly, you can point your domain to a specific IP address (i.e. the one assigned to your Rad Web Hosting hosting account) without having to defer to your router/network or on an external DNS resolver to inform your machine of the IP address of your domain. This means that if you make your modifications correctly, you can view your website in your browser, using your normal domain name, without actually affecting the global DNS of your domain whatsoever!
Edit Host File on Windows
Firstly, to edit your hosts file on Windows, you will need to open a text editor, such as Notepad++ as an Administrator:
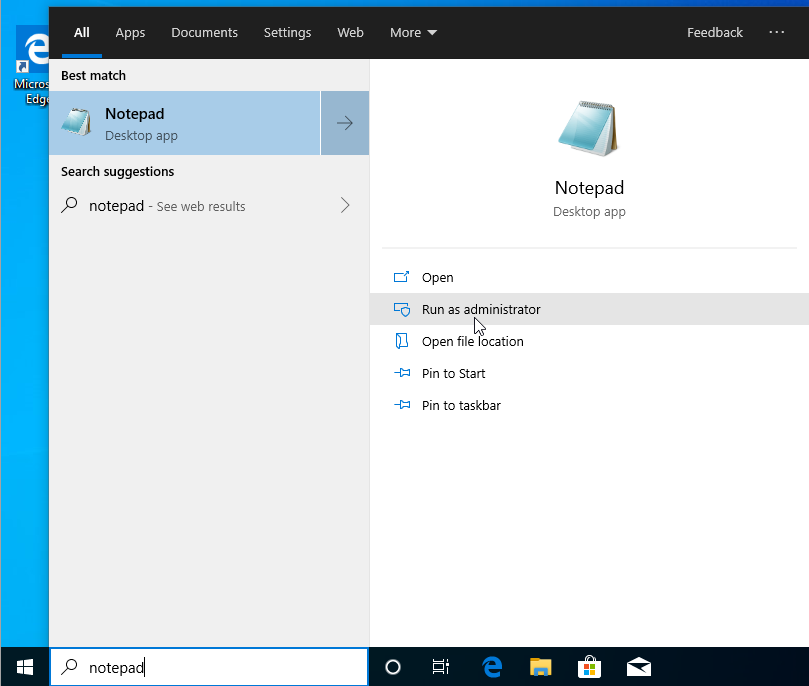
You must run Notepad as an Administrator or you will not have sufficient permission to modify the hosts file, which is write-protected for any user below Administrator by default. Once you have Notepad running under the Administrator account, open the following file: C:\Windows\System32\drivers\etc\hosts
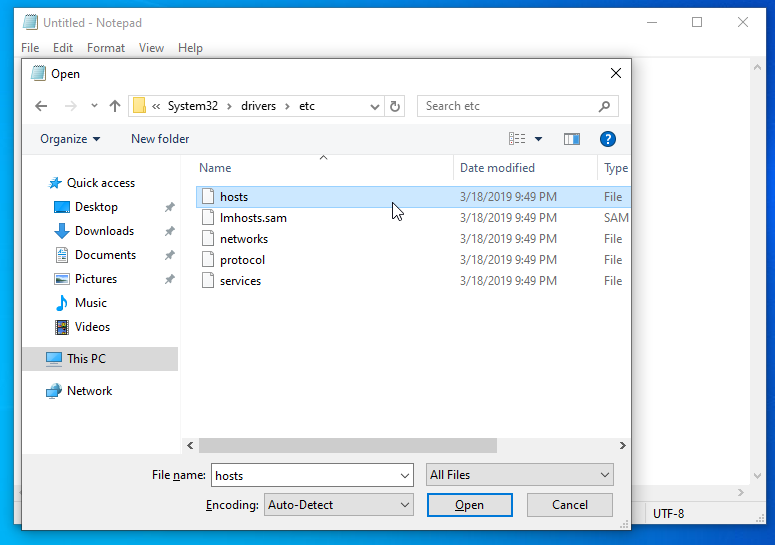
Once your hosts file is open, you will see instructions for composing entries, along with a few examples.
You will want to add your website's IP address (contact Rad Web Hosting support if you do not have this information) and your domain name at the bottom of the file, as shown in the following screenshot:

Save the file.
Once saved, we will need to clear out your DNS resolver cache, as your computer will likely have the old IP cached for your site's DNS and will not actually consult the hosts file in order to find it. To clear your DNS resolver cache, please check our guide located here.
You may now access your domain from your Rad Web Hosting server!
Conclusion
You now know how to go about modifying hosts file in Windows PC.
