Enable browser caching to reduce website loading times, reduce server load, and reduce bandwidth usage. Browser caching functions by caching specific file types in the web browser.
What is Browser Caching?
Browser caching functions by caching specific file types in the web browser, which will be loaded automatically from cache and not from server.
Benefits of browser caching include:
- reduced load times for websites
- reduce server load
- reduce bandwidth usage
Enable Browser Caching for all cPanel users in WHM
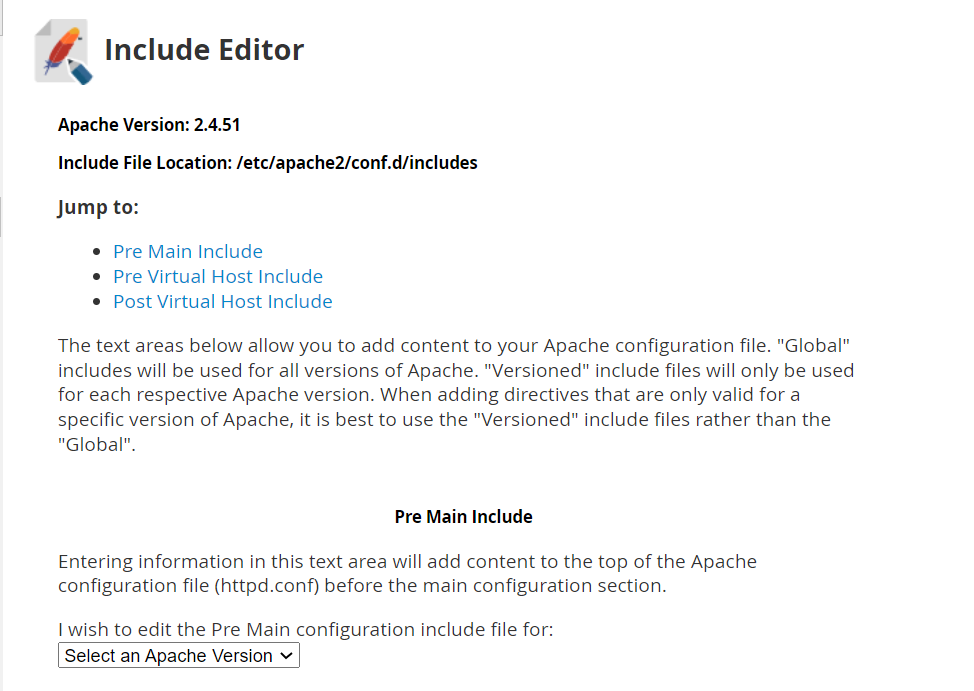
For server administrators of cPanel VPS hosting or dedicated servers (with root level access), this can be achieved on a server-wide basis by using the Apache Include Editor in WHM (Web Host Manager).
From WHM admin, as root user, navigate to Server Configuration -> Apache Configuration -> Include Editor. Find the "Post Virtual Include" entry and select "All Versions" from the dropdown menu.

Add the following lines of text:
<IfModule mod_deflate.c>
# The below line will automatically compress ALL content
SetOutputFilter DEFLATE
# Here you can specify which types of content to enable compression for
AddOutputFilterByType DEFLATE text/plain
AddOutputFilterByType DEFLATE text/html
AddOutputFilterByType DEFLATE text/xml
AddOutputFilterByType DEFLATE text/css
AddOutputFilterByType DEFLATE text/javascript
AddOutputFilterByType DEFLATE image/jpeg
AddOutputFilterByType DEFLATE image/png
AddOutputFilterByType DEFLATE image/jpg
AddOutputFilterByType DEFLATE image/svg+xml
AddOutputFilterByType DEFLATE image/x-icon
AddOutputFilterByType DEFLATE application/xml
AddOutputFilterByType DEFLATE application/xhtml+xml
AddOutputFilterByType DEFLATE application/rss+xml
AddOutputFilterByType DEFLATE application/javascript
AddOutputFilterByType DEFLATE application/x-javascript

# Compression levels above 6 are more resource intensive with minimal gains in performance
DeflateCompressionLevel 6

# Uncomment the line below to stop compression of images
# SetEnvIfNoCase Request_URI .(?:gif|jpe?g|jpg|ico|png)  no-gzip dont-vary

# Make sure proxies don't deliver the wrong content
Header append Vary User-Agent env=!dont-vary

</IfModule>

<IfModule mod_expires.c>
# The below line turns on caching
 ExpiresActive On
# The default time to cache all content
 ExpiresDefault "access plus 1 year"
# These lines specify time to cache for specific content
 ExpiresByType text/css "access plus 1 month"
 ExpiresByType application/x-shockwave-flash "access 1 month"
 ExpiresByType text/javascript "access plus 1 week"
 ExpiresByType application/x-javascript "access plus 1 week"
 ExpiresByType application/javascript "access plus 1 week"
</IfModule>
Click "save" to write the changes to your server configuration.
To enable browser caching of a specific website, simply add the following line to the .htaccess file of the document root:
RewriteRule ^(css|js)/(.*)\.[0-9]+\.(.*)$ /$1/$2.$3 [L]
To automatically enable browser caching for all users and websites, add an .htaccess file with the above line of text to the cPanel Skeleton directory.
The specified file types will now be cached in web browsers to prevent loading on every access. This will speed up the website loading time. Browser caching also helps reducing the server load and bandwidth usage.
For alternative methods of enabling browser caching, see Enable Browser Caching with .htaccess File (enables browser caching on a per-site basis for shared hosting and reseller hosting administrators).
 Use promo code FAST50 for 50% off SSD VPS servers!


