This article will describe how to use AutoInstall to install an SSL certificate.
The AutoInstall module is provided for Shared Hosting, WordPress Hosting, and Reseller Hosting Services, through the cPanel interface. The AutoInstall software is specifically designed to work with SSL certificates purchased at RAD WEB HOSTING.
• Purchase an SSL certificate through the order form and proceed to the Hosting Dashboard (your client portal).
• Following your purchase, your order will be activated shortly.
• Once the order is activated, you can then begin the steps of using auto install.
Retrieve the Token
From Email
• When the order is activated, the Token will be sent to you in the Welcome Email
From Hosting Dashboard
• Log in to the Hosting Dashboard
• Go to Services > My Services > Locate the specific SSL you are installing. Click on the product
• Once done, scroll down the screen until you find the following. Copy this token.
• Log in to cPanel once you’ve retrieved this.
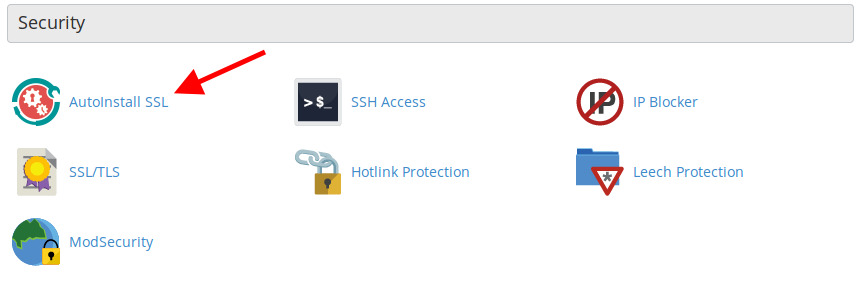
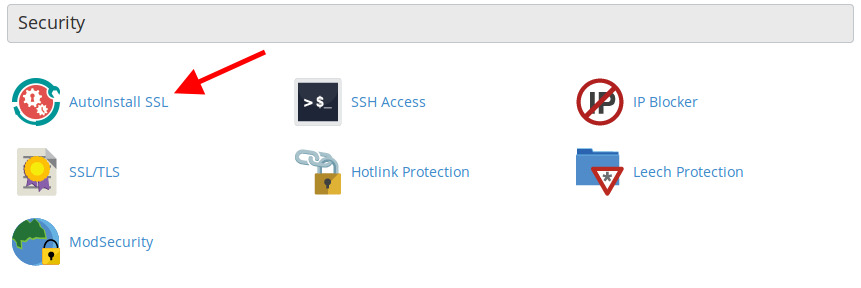
• Under Security > Click on AutoInstall SSL
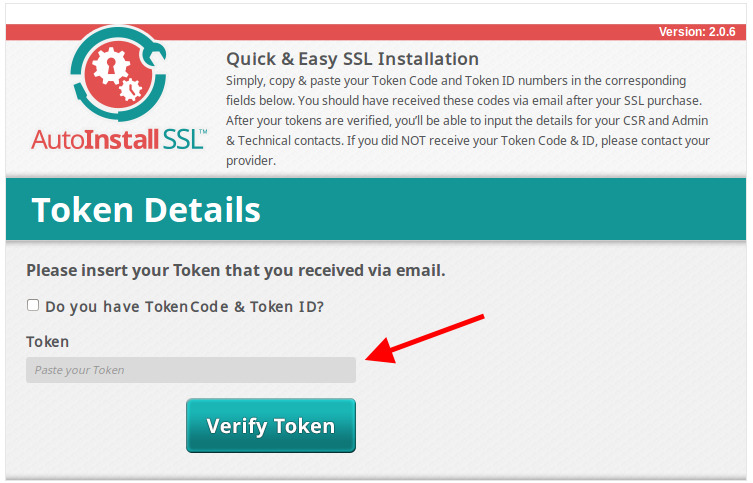
• Enter the Token where it says “Paste your Token”, then click on “Verify Token”
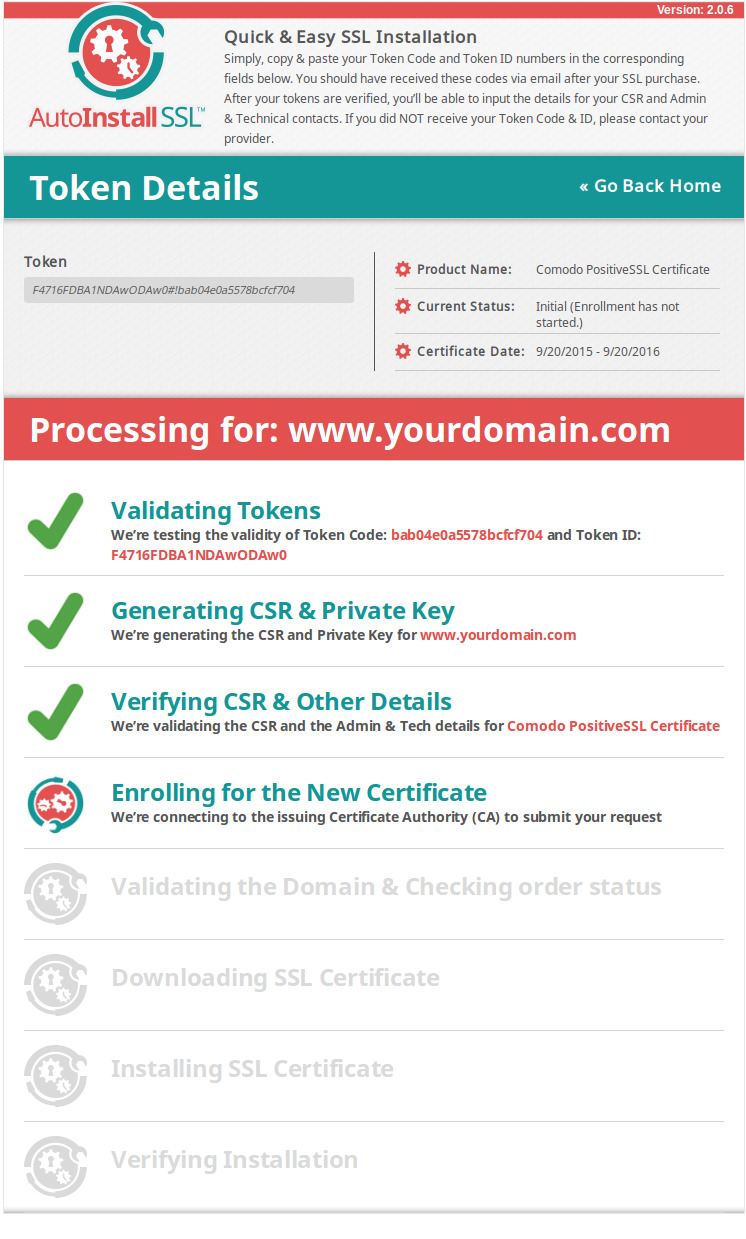
• If this is correctly verified, the following screen will appear
• Enter the domain and contact information in the fields provided and press “Submit”
• Your certificate is now being installed.
• Once these steps are completed, your SSL should now be installed. You can now find information on redirecting all website traffic to connect over SSL.
- install ssl, cpanel ssl install, autoinstall ssl, autoinstall ssl cpanel, autoinstall software for ssl
- 1 Users Found This Useful
 👀 Choose SSD-powered VPS servers for increased speed, power, and security! Now 50% off- starting from only $1.99/mo.


